Shapes, Expressions and a Spinning Automata
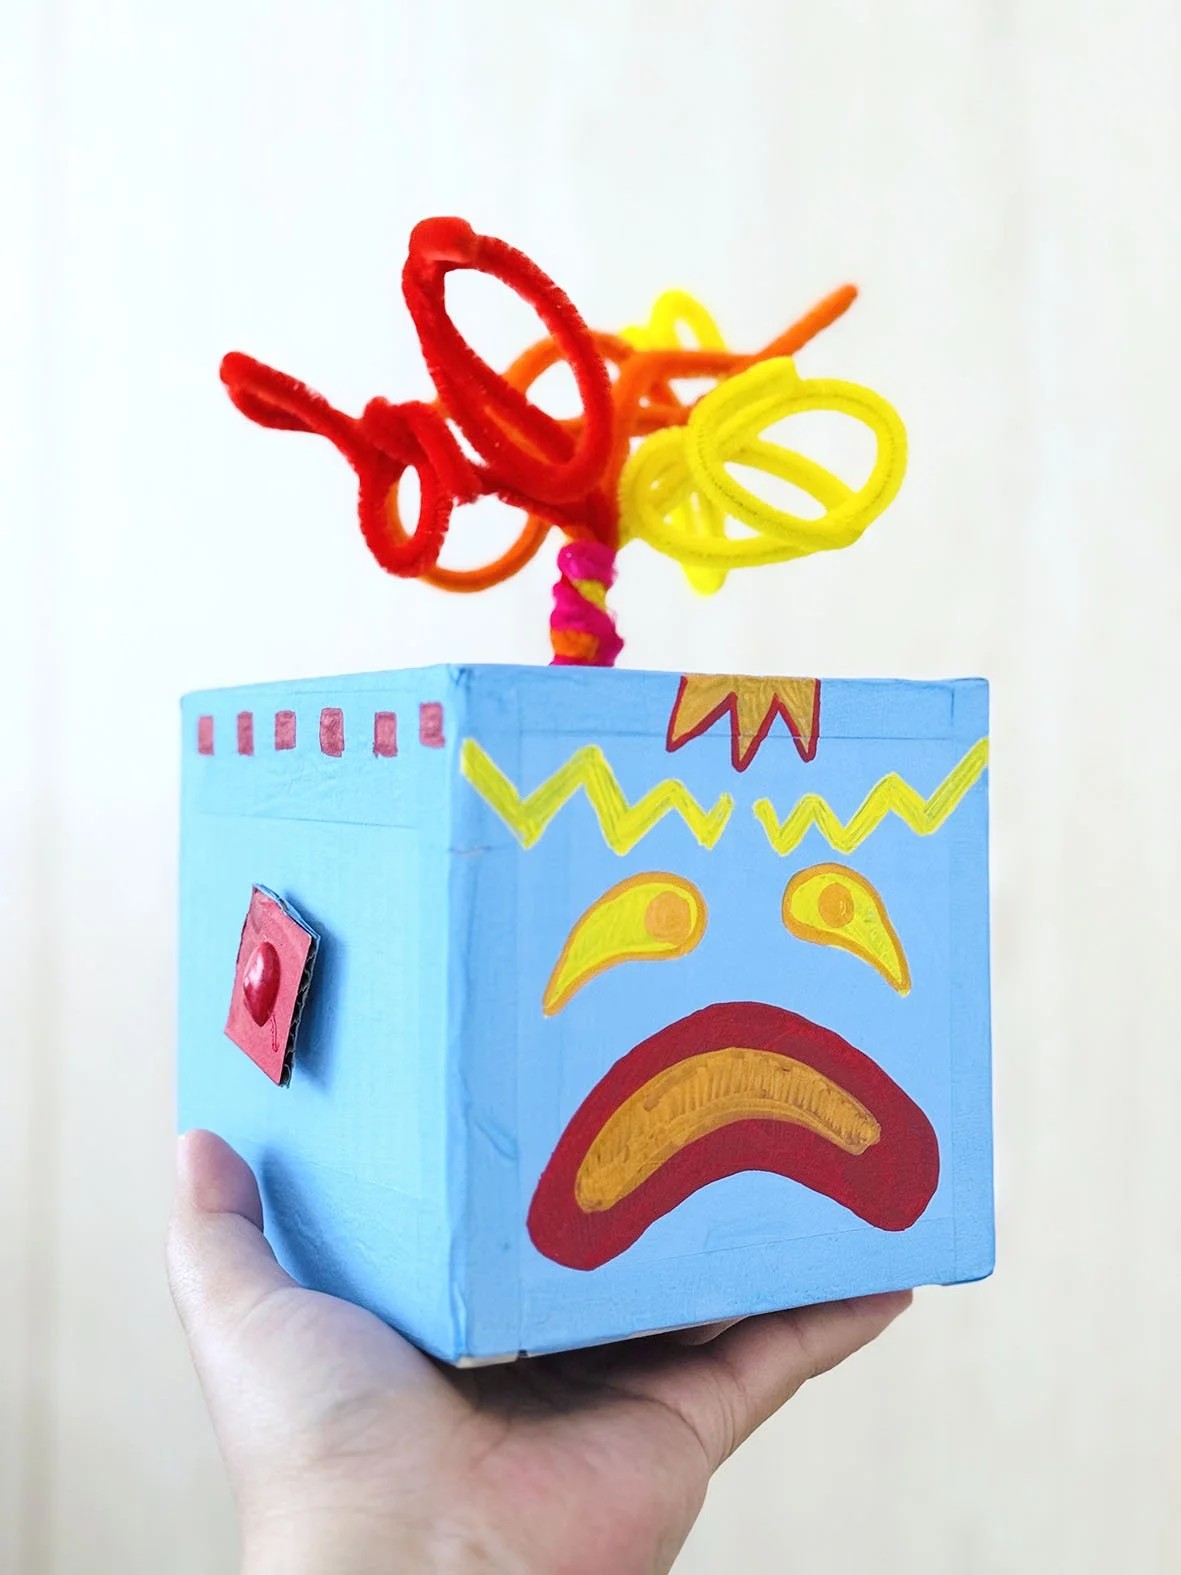
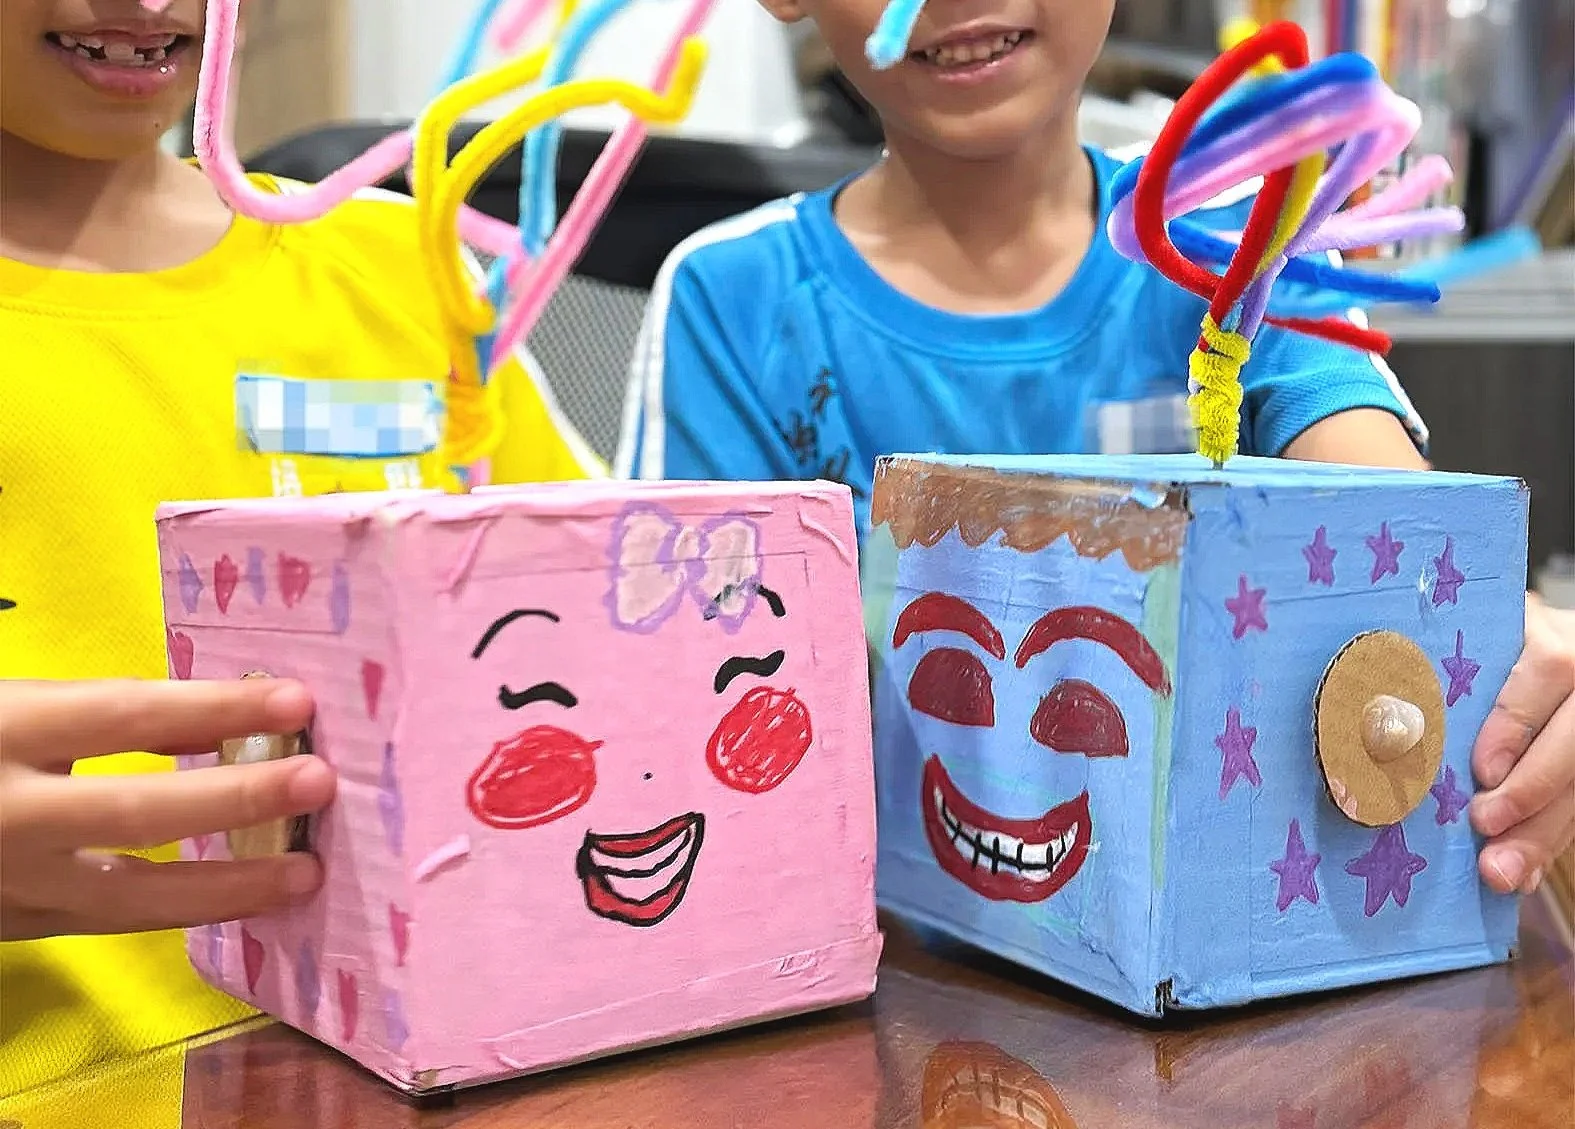
For this activity, we created little box characters with spinning hair, using a simple automata mechanism hidden inside the box. Turn the handle and the gears begin to move, causing whatever is sitting on top of the character's head to spin around.
But before getting into the mechanics, we started somewhere much simpler: with shapes and facial expressions. Our faces are made up of different shapes and they move and change with every expression we give!
It’s a simple activity that helps introduce varieties in shapes to kids, while making it fun with the movement of an automata later on.
What Shape Does an Emotion Make?
We began with a simple papercut-and-paste activity exploring how the shapes we use for a face can completely change its expression.
What happens to the eyebrows when someone is angry? How might a surprised mouth differ from a sad one? Can two circles and a curved line immediately make a face seem happy?
Anger, sadness, surprise and happiness all have their own little visual clues.
Rather than relying heavily on drawing, children could cut simple shapes from coloured paper and move them around before committing to an expression. A semicircle could become a smiling mouth, then flip around and suddenly look sad. Angled rectangles could become angry eyebrows, while large circles might make a character look surprised.
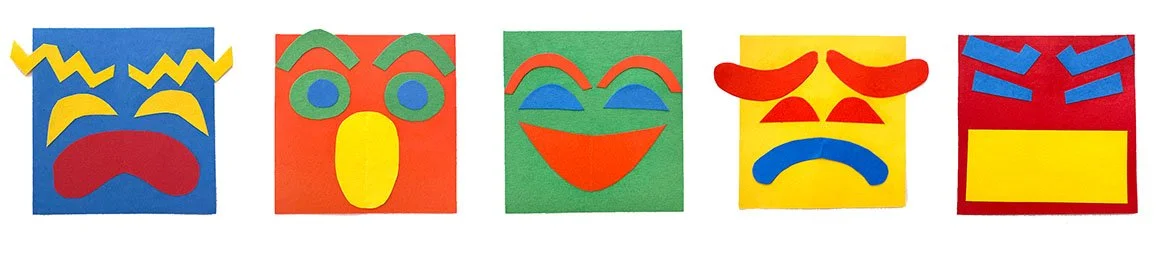
It is a very simple way of introducing the idea that shapes themselves can communicate. And, more importantly, there isn't only one correct way to make a face.
Once the children understood some of these visual cues, they could begin mixing them around and developing a character of their own.
Automata time!
Using the different expressions, they selected one that they liked the most as the basis to their automata making. It’s an exercise that extends a little in character creation.
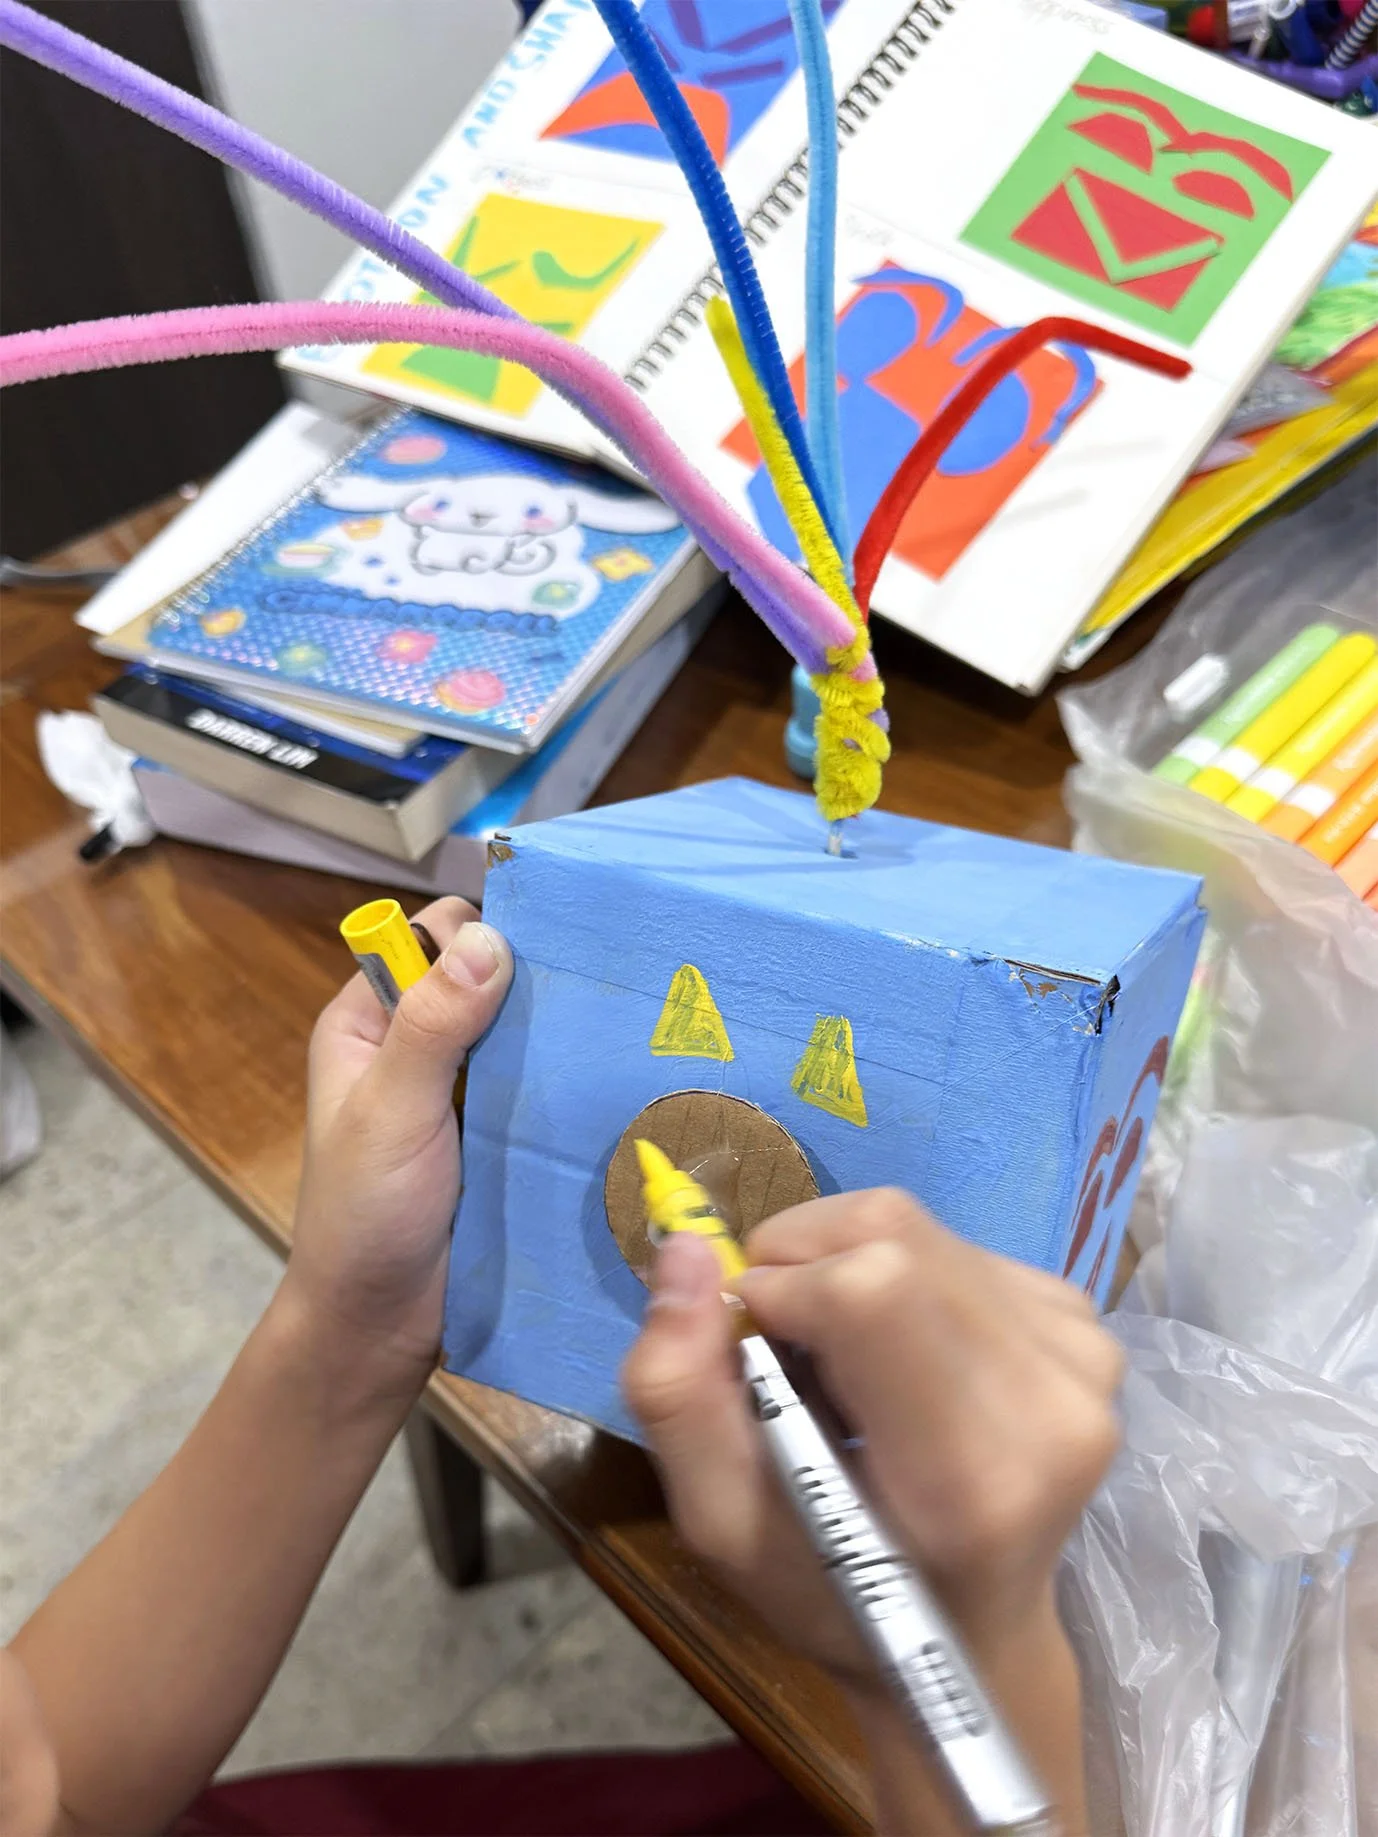
We built the main structure from recycled cardboard, with a simple pair of gears hidden inside the box. Satay sticks act as the axles, allowing the movement from the handle to be transferred through the gears and up towards the top of the character.
The Hair Is Where Things Get Silly
Once the mechanism is moving, we get to my favourite part: deciding what should go on the character's head.
It could be strips of paper, ribbons, curled paper, feathers, lightweight shapes — or something completely unexpected.
Paper or Cardboard?
You can make the automata out of paper or cardboard, and there are pros and cons to both.
Pros of cardboard : sustainable (recycled), thick enough to provide grip and at the same time “soft” enough for a stick to poke through.
Pros of paper : Needs at least 130 gsm thickness or drawing block thick with the printable. Easy for kids to colour with other media(s) like colour pencils or crayons. Includes a cutting aspect that they can do themselves!
I've also put together a free paper printable that you can use to build your own version of the automata
Tips on making the Automata:
Materials needed :
either cardboard or the paper printable (can be printed on A3 or A4 paper) but requires a thickness of around 130gsm
Wooden sticks or satay sticks
sponge
Tape or glue
lightweight items like pipe cleaners or paper to add as “hair”
Gears
If you’re using cardboard, sandwich toothpicks to help create more grip. I used a glue gun to help the kids secure them down.
If it’s the printable, attach two pieces of gear together to create a thickness to the it!
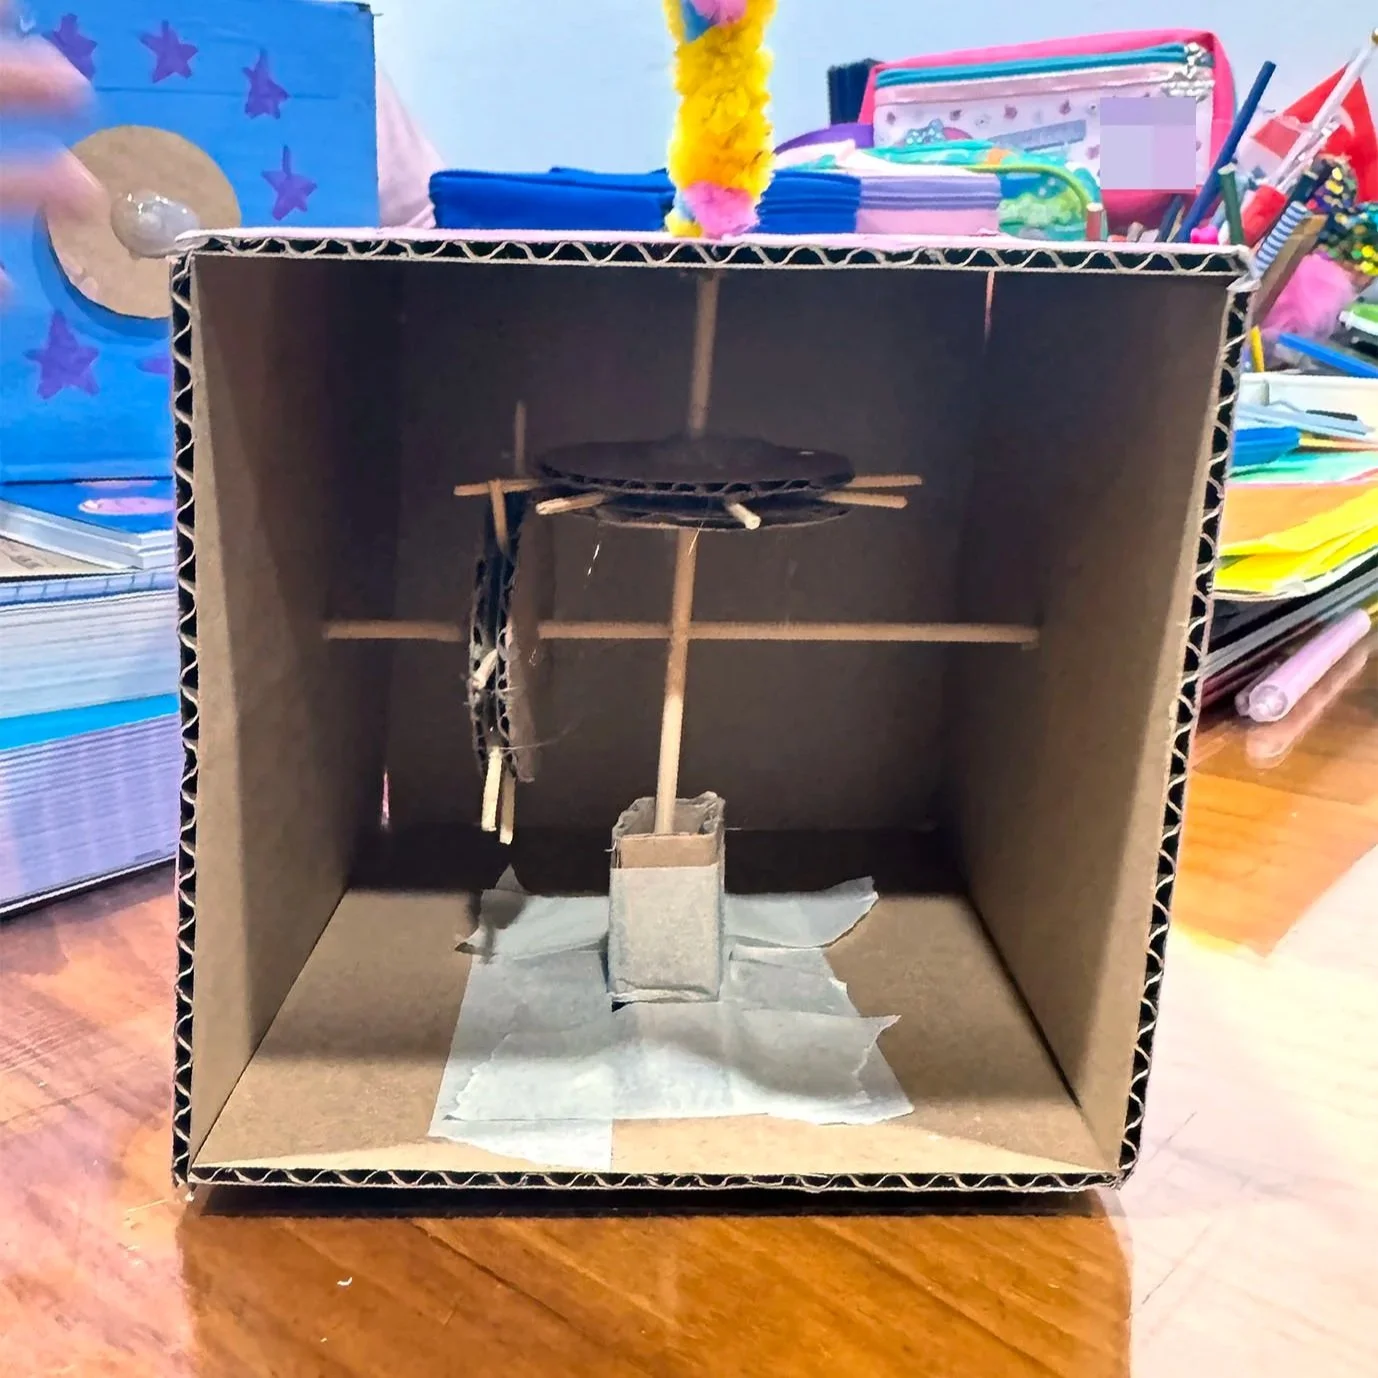
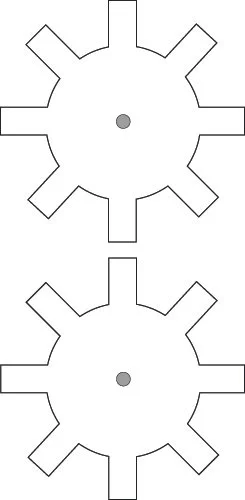
If you’re using the printable, attach two pieces of the gear shapes together to make it stronger.
Sponges and the use of a base.
Use small pieces of sponges to help hold the gear into place. Alternative replacements can include plasticine or even sticky blue tacs!
Also if possible (the printable includes this), create a small base at the bottom of the box to centre the spinning of the stick.
Keep the “hair” light
Last but not least, in order to ensure it’s hair spins, keep materials added on the top as light as possible.
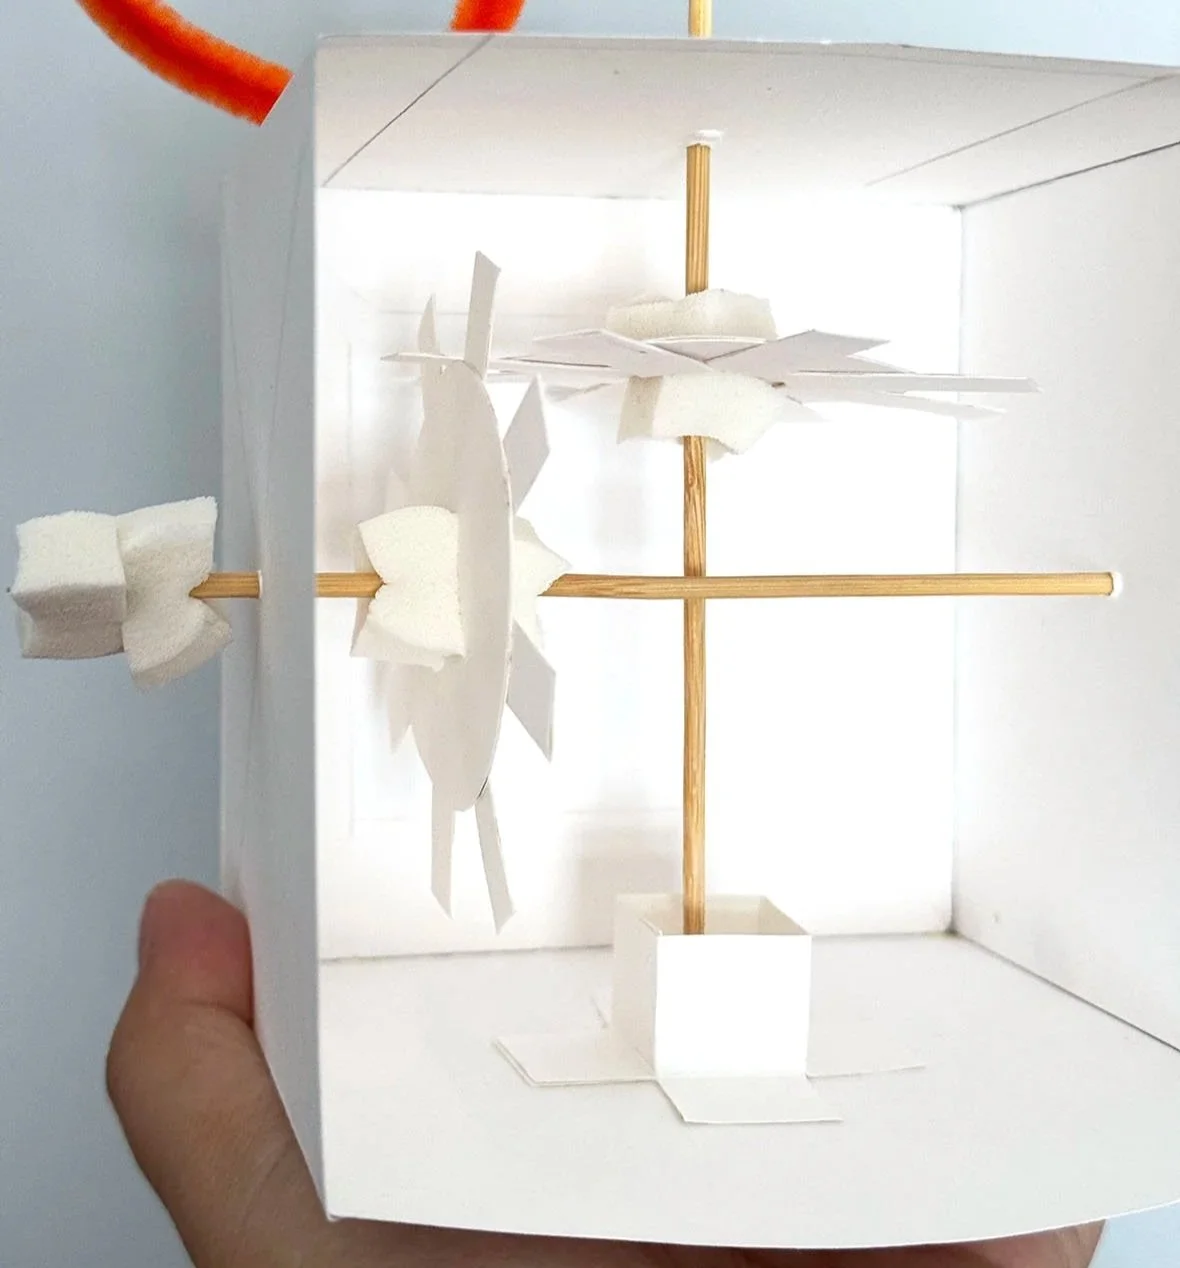
The Printable
In this printable built, it comes with A3 or A4 formats for print!
It includes light instructions in the template on where to cut, fold, poke holes as well as tape and attach.
I hope you’ll have alot of fun with your little one on this activity! and may they tell you all of the stories behind their character heads (:
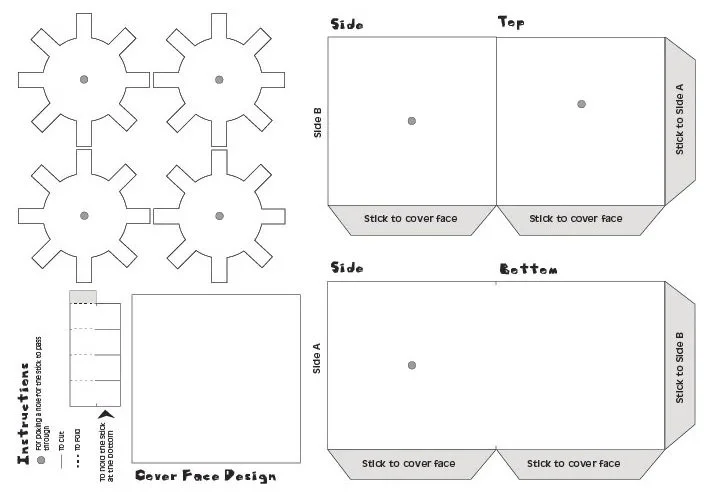
Download a higher resolution file below!
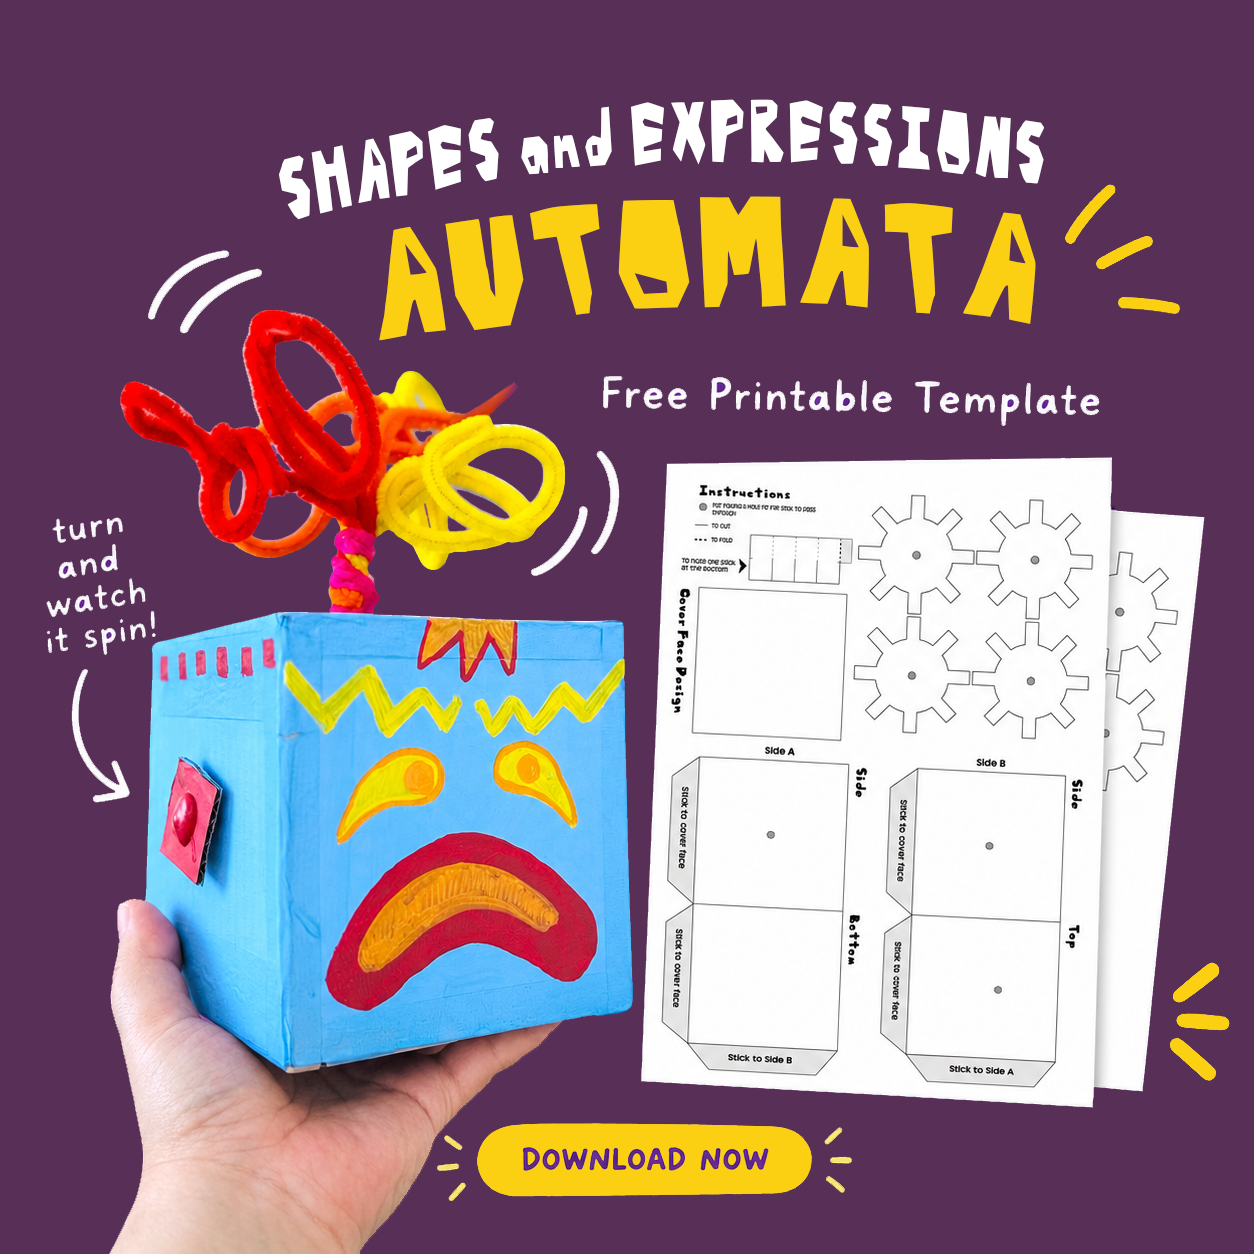
This printable includes a template for making the spinning automata character head. It comes in an A3 and an A4 format. Best printed on 130gsm paper for making.
Find out more about the activity here!
