From Cyanotype to Mural Making
School Programme ;
How does a small experiment on paper eventually find its way onto a wall?

For this collaborative mural project, we began with cyanotype; a photographic process known for its distinctive blue-and-white images. Students experimented with images and sunlight, creating a collection of prints that captured a given theme.

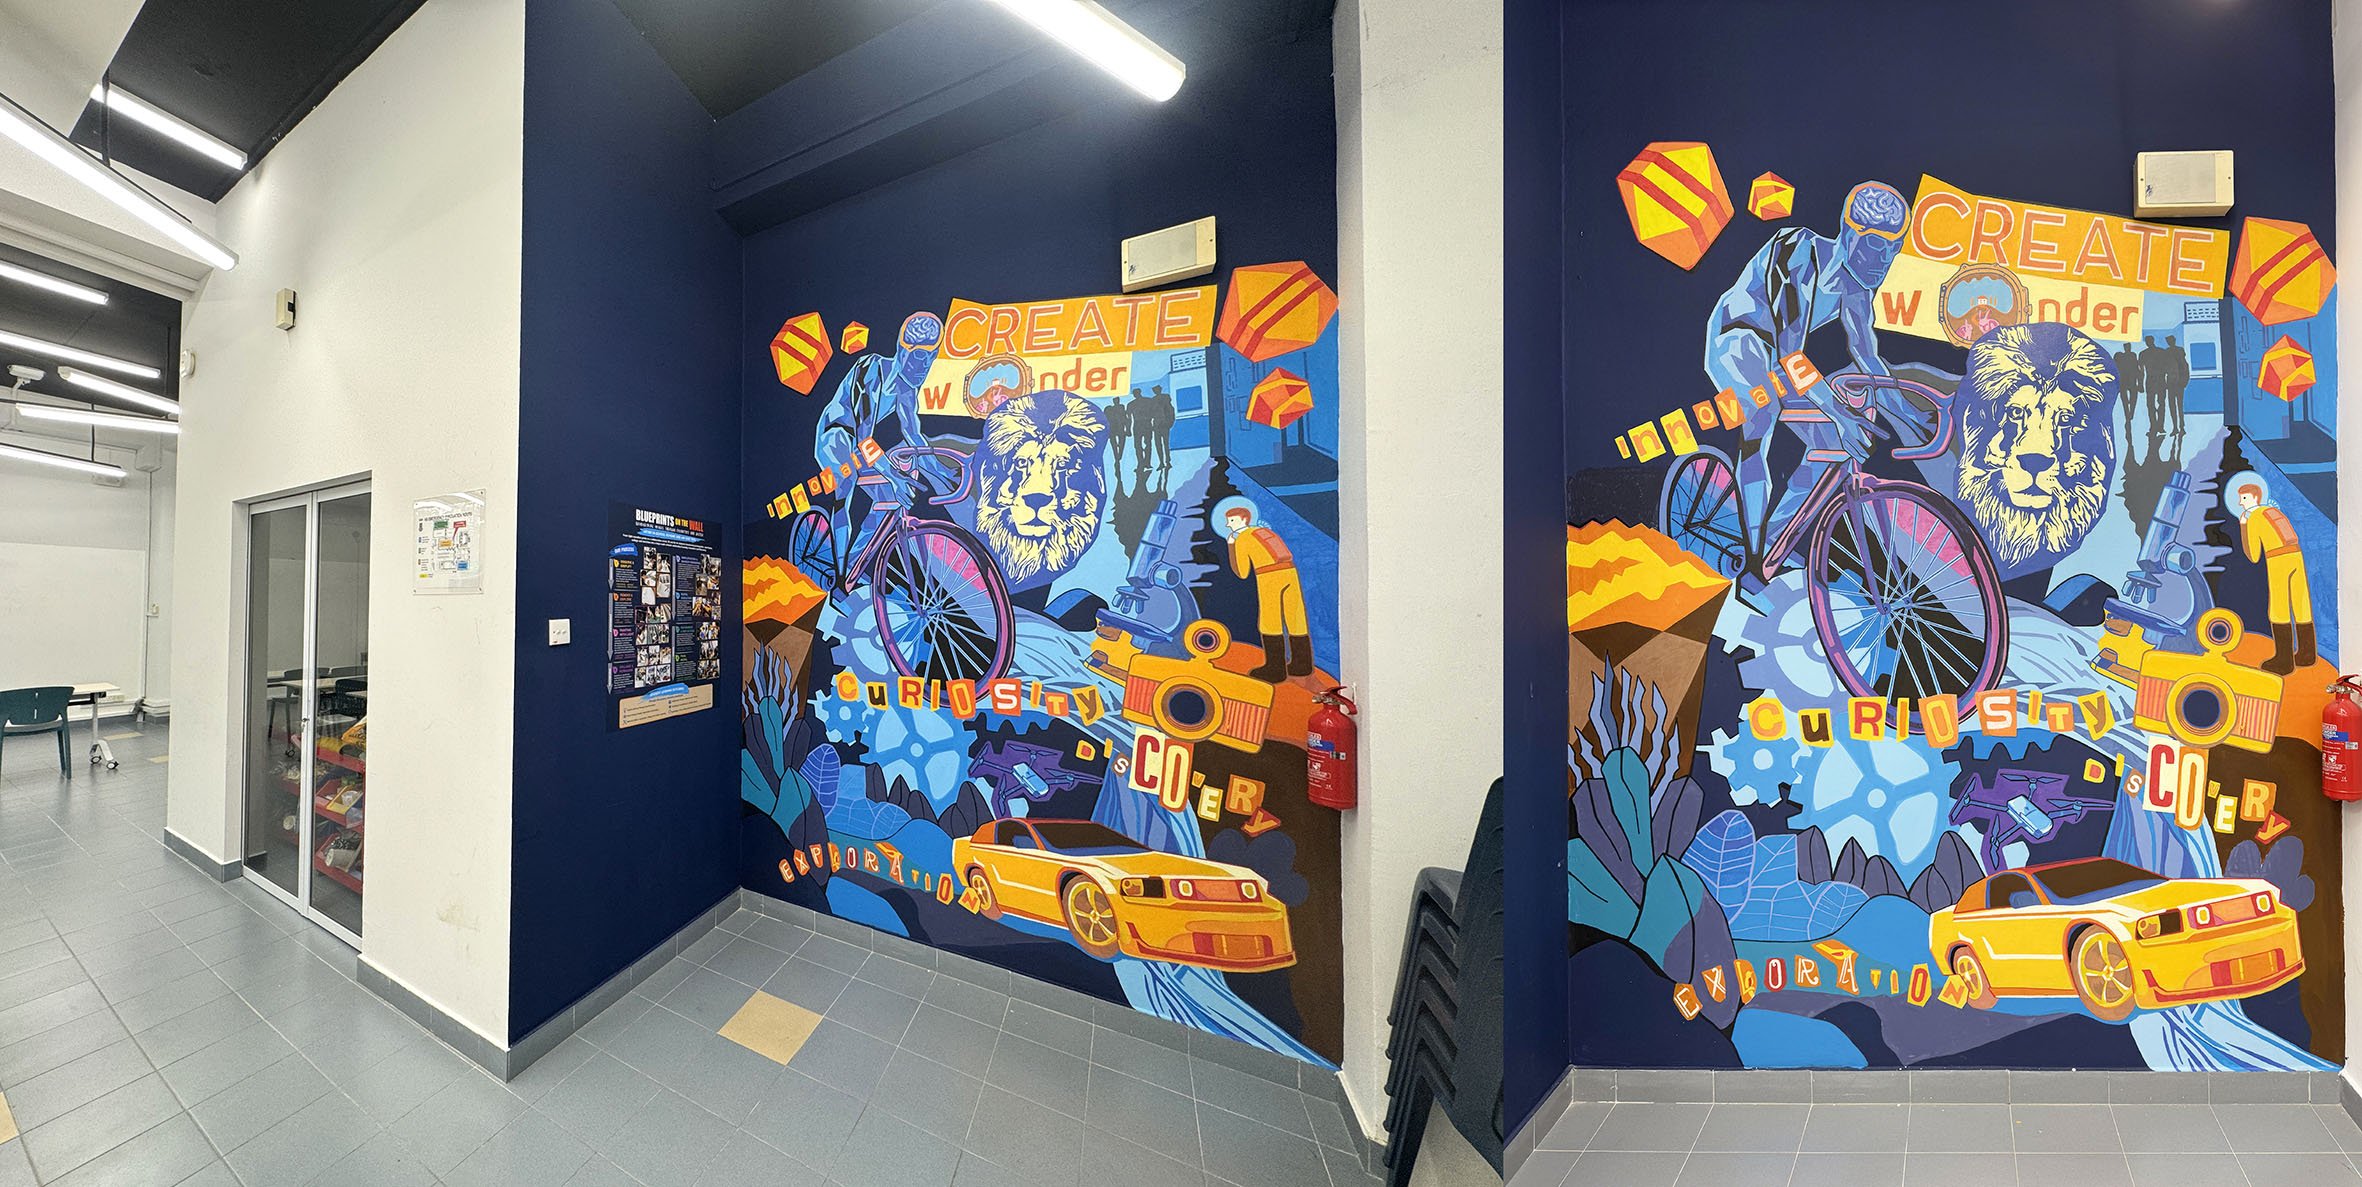
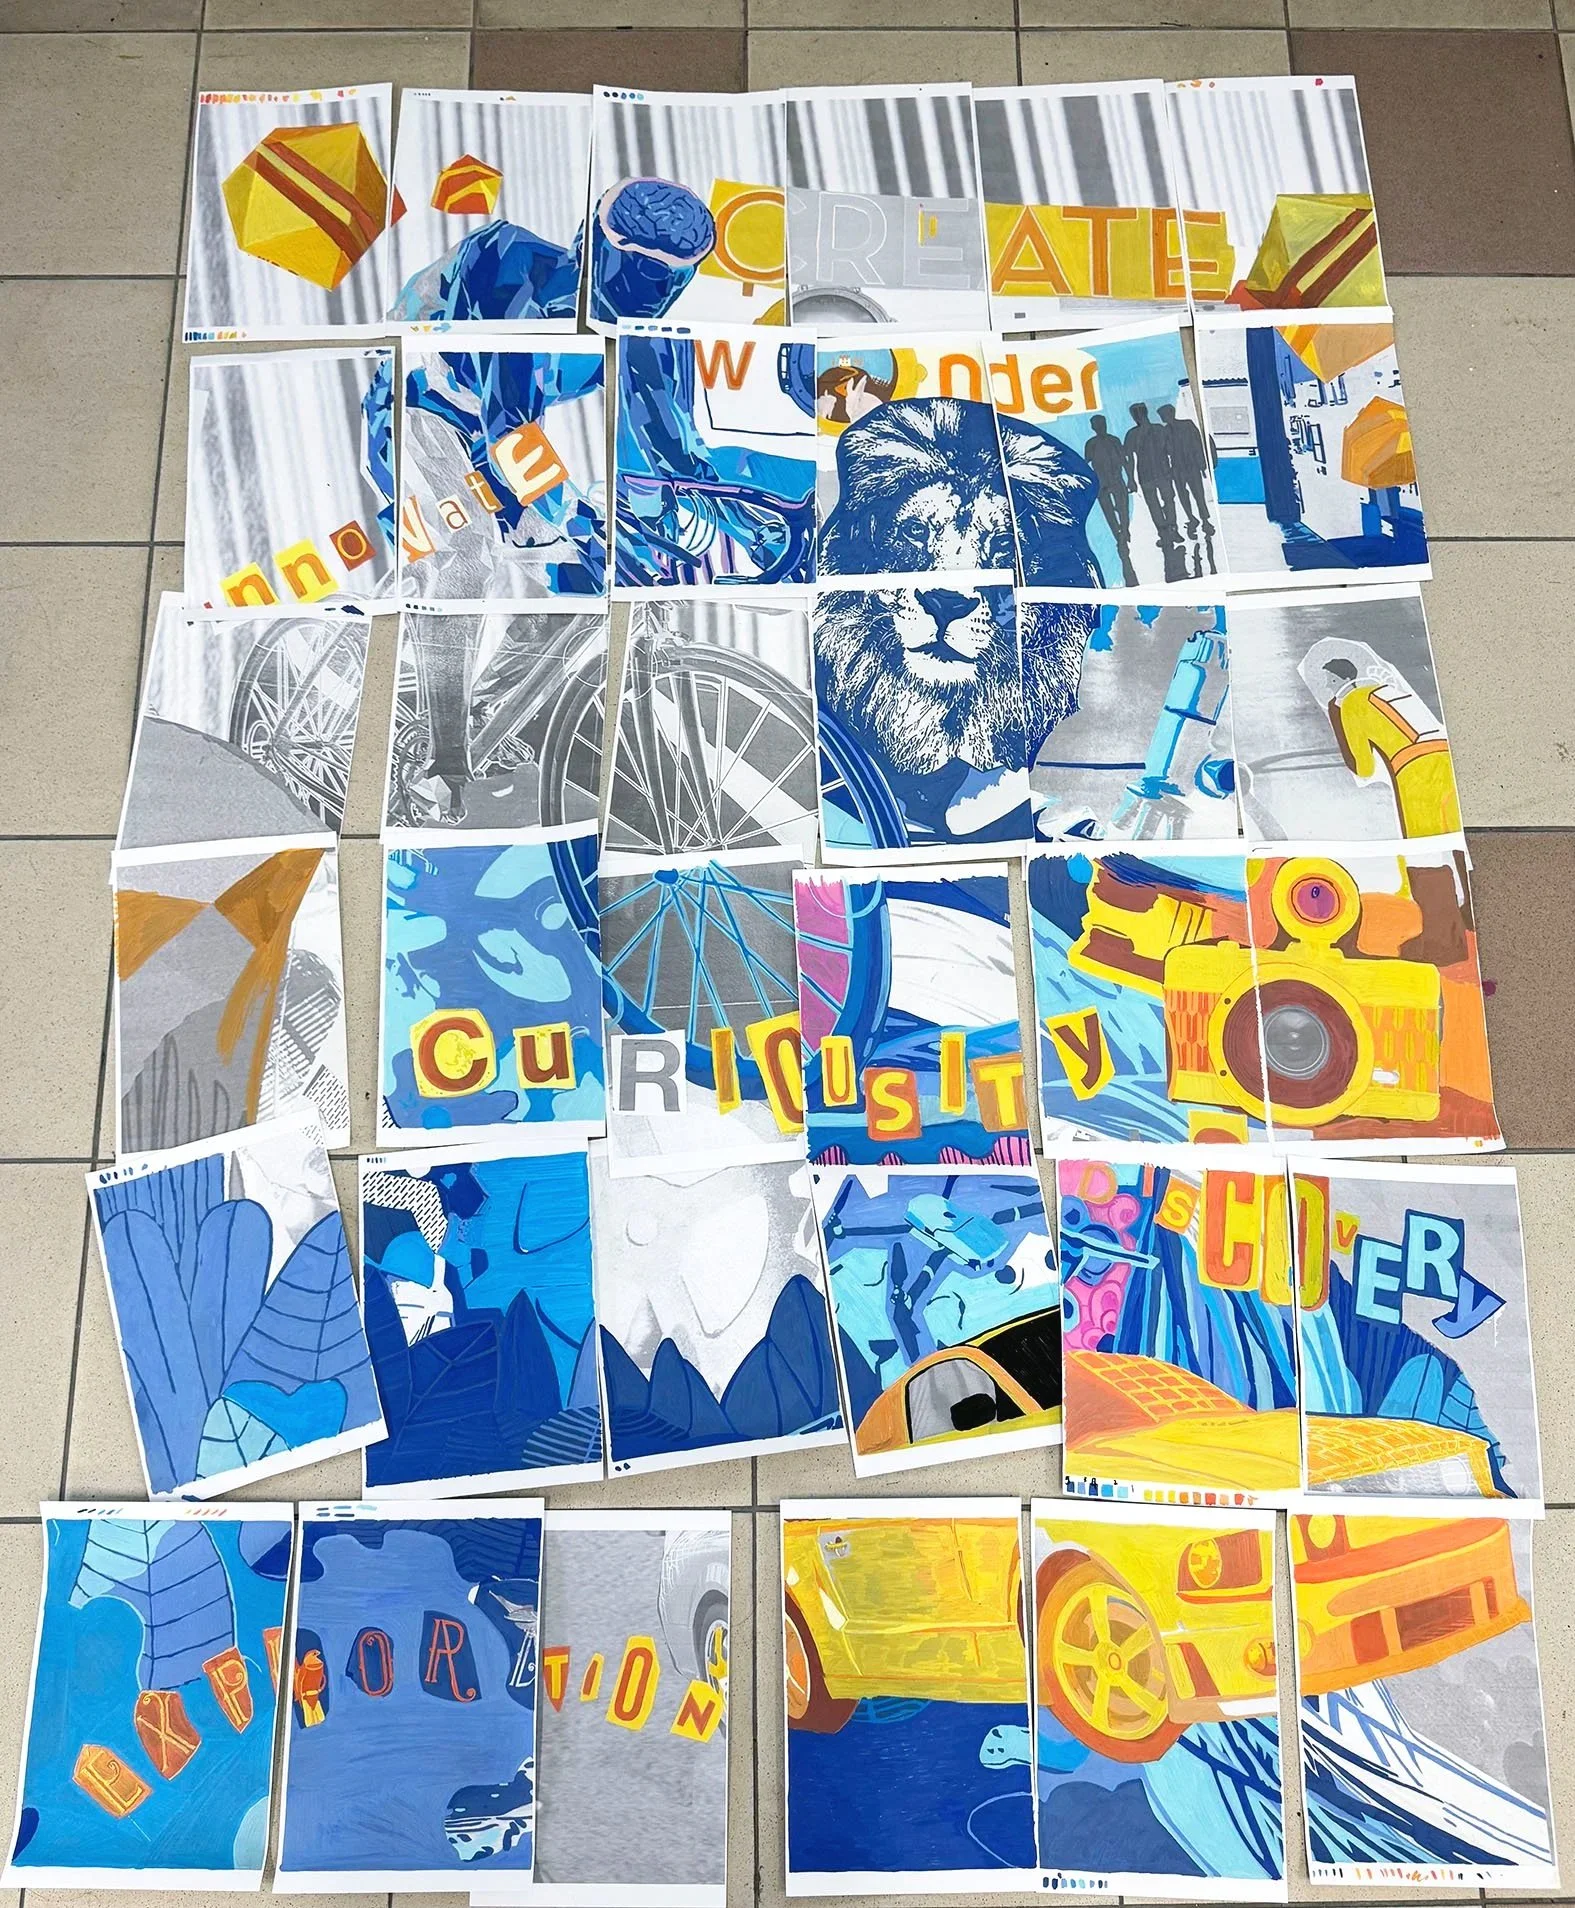
But the cyanotypes were only the starting point. Rather than treating each print as a finished artwork, we began cutting, rearranging and combining them into collaborative collages. These compositions then became the visual starting point for something much larger: a mural.

The project became a journey across materials and scales, moving from cyanotype to collage, from collage to wall, and finally from photographic imagery into paint.
Starting with Cyanotype
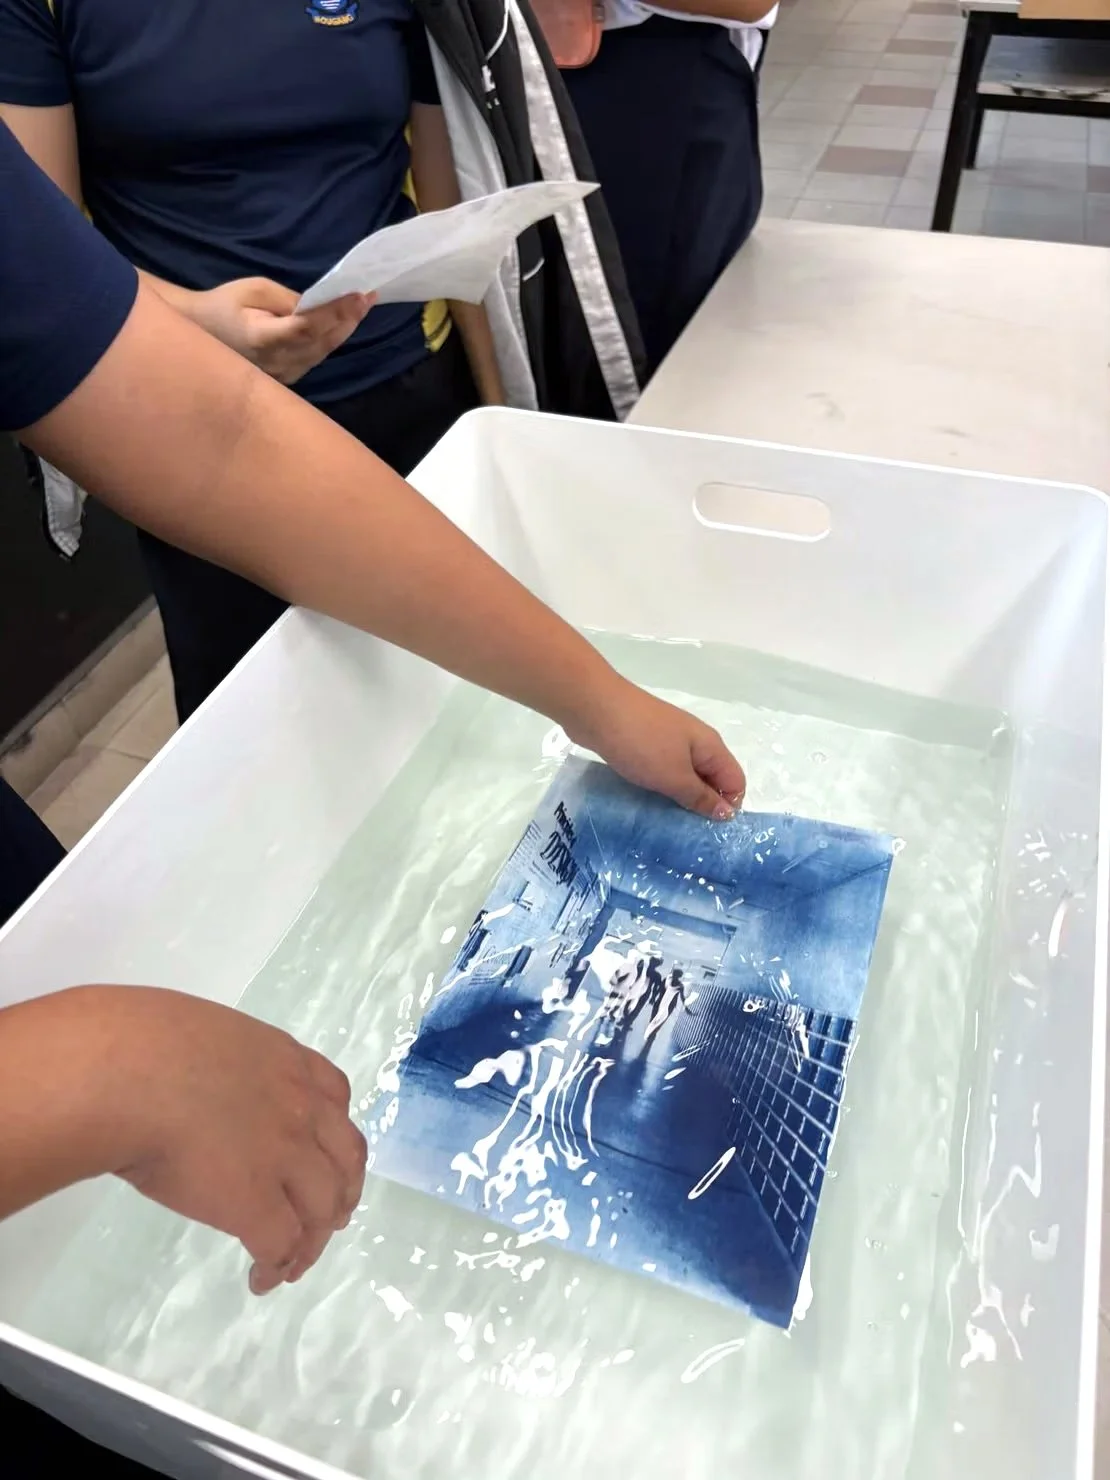
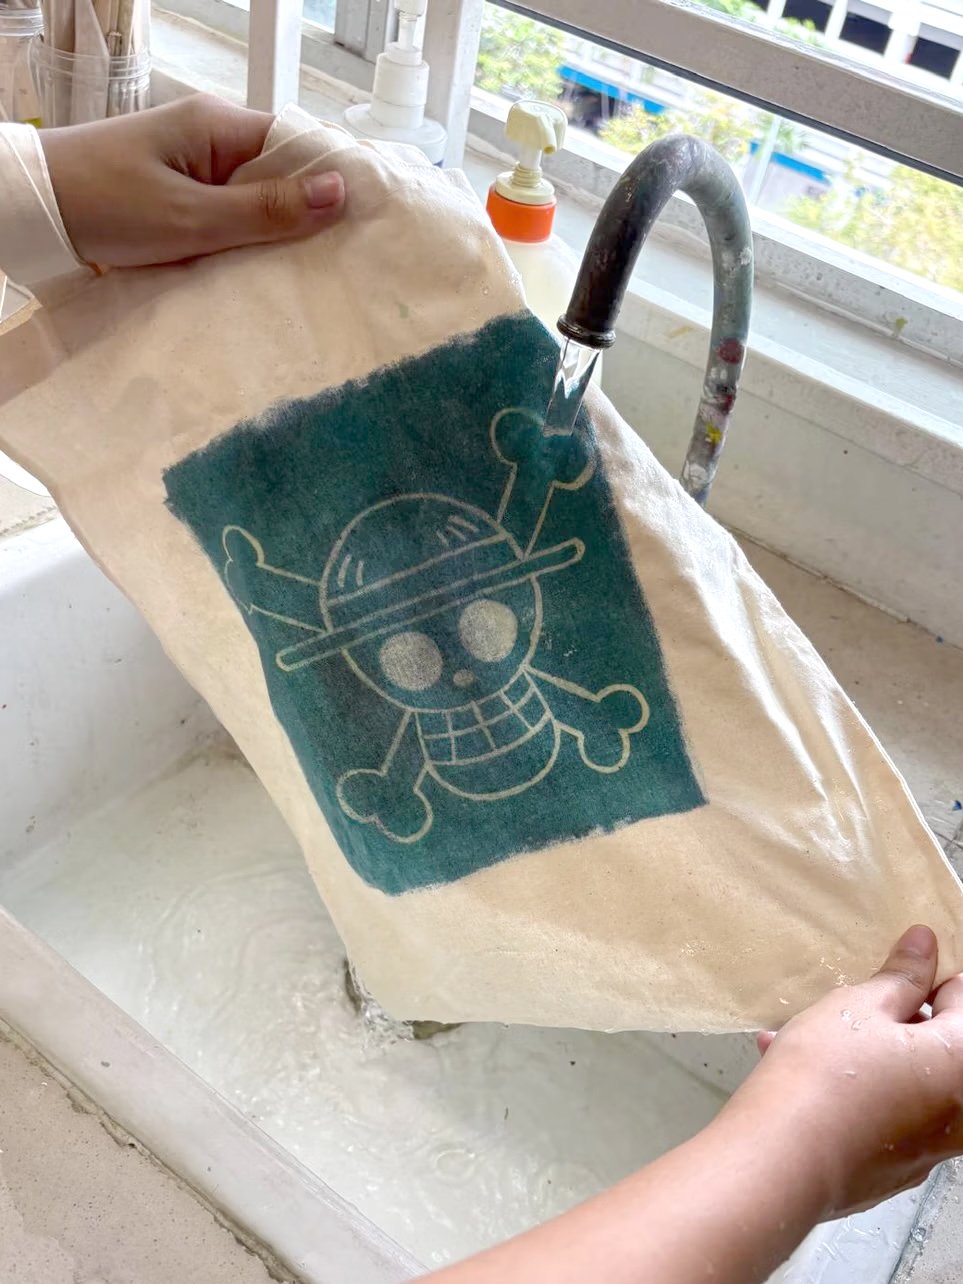
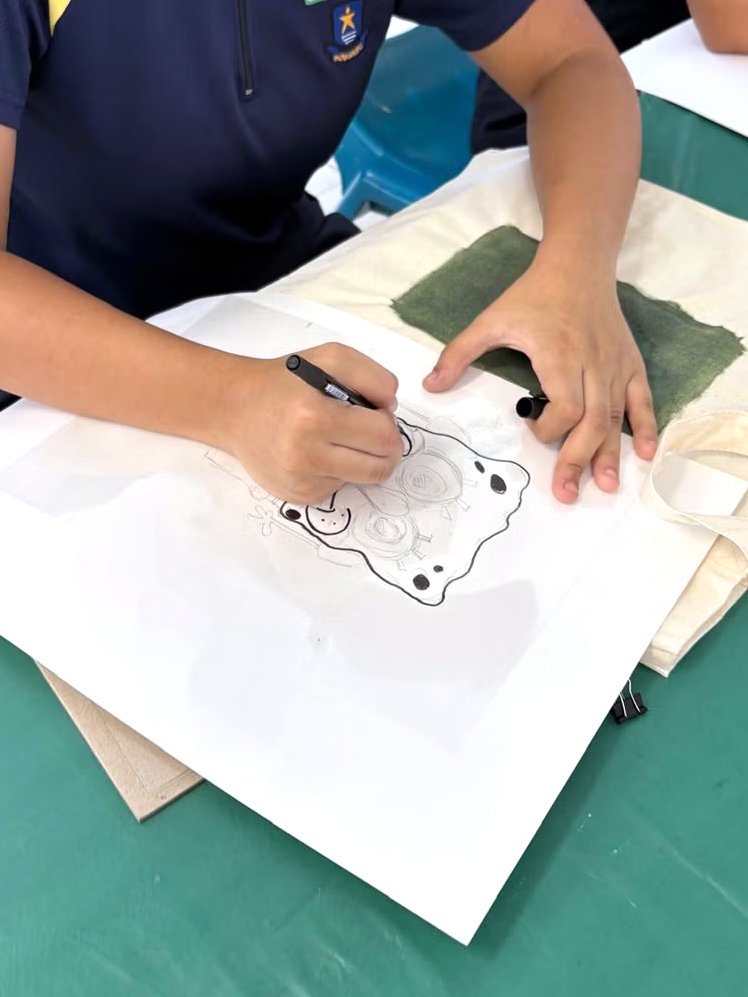
Cyanotype begins with a light-sensitive surface. Transparencies (whether images or drawn) are arranged on top of the chemical coating before being exposed to UV light. Once the surface is washed, the exposed areas develop into rich blues while the areas protected from the light remain much lighter.

Students worked with a combination of their own photographs of the school, printed image transparencies and drawings on transparencies. This allowed them to explore how different types of imagery translated into cyanotype, from photographic details to more expressive hand-drawn marks. We also experimented with exposure time, observing how longer exposures produced darker, deeper blues, while shorter exposures created lighter results. Beyond paper, students also tried printing their images onto tote bags, exploring how the same cyanotype process could move across different surfaces and take on different forms.
For the students, this meant there was room to experiment. We could arrange, expose, wash and then look at what happened. Each print became a small collection of shapes and textures that could later be used in another way.
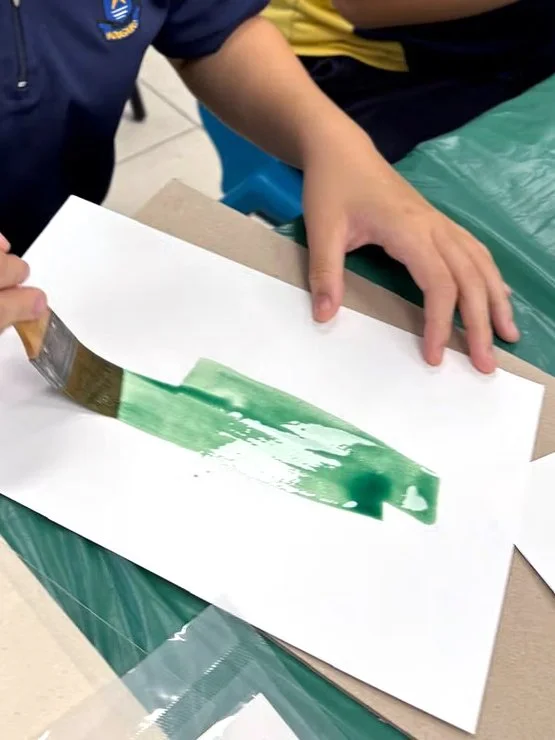
From Prints to Collaborative Collage
Once we had accumulated a selection of cyanotype images, the next step was to start cutting them up.

This changed how we looked at the prints. A cyanotype no longer had to be treated as one complete image. An interesting section could be removed, rotated or placed beside something made by another student. A texture from one print could become part of an entirely different composition.
Students began combining these fragments into collages, experimenting with how separate images could sit alongside and overlap one another.The process gave us another way of thinking about composition. Instead of starting with a blank page and deciding what should be drawn onto it, we already had a collection of visual material in front of us. The challenge was deciding what to keep, what to move and how different pieces could begin to work together.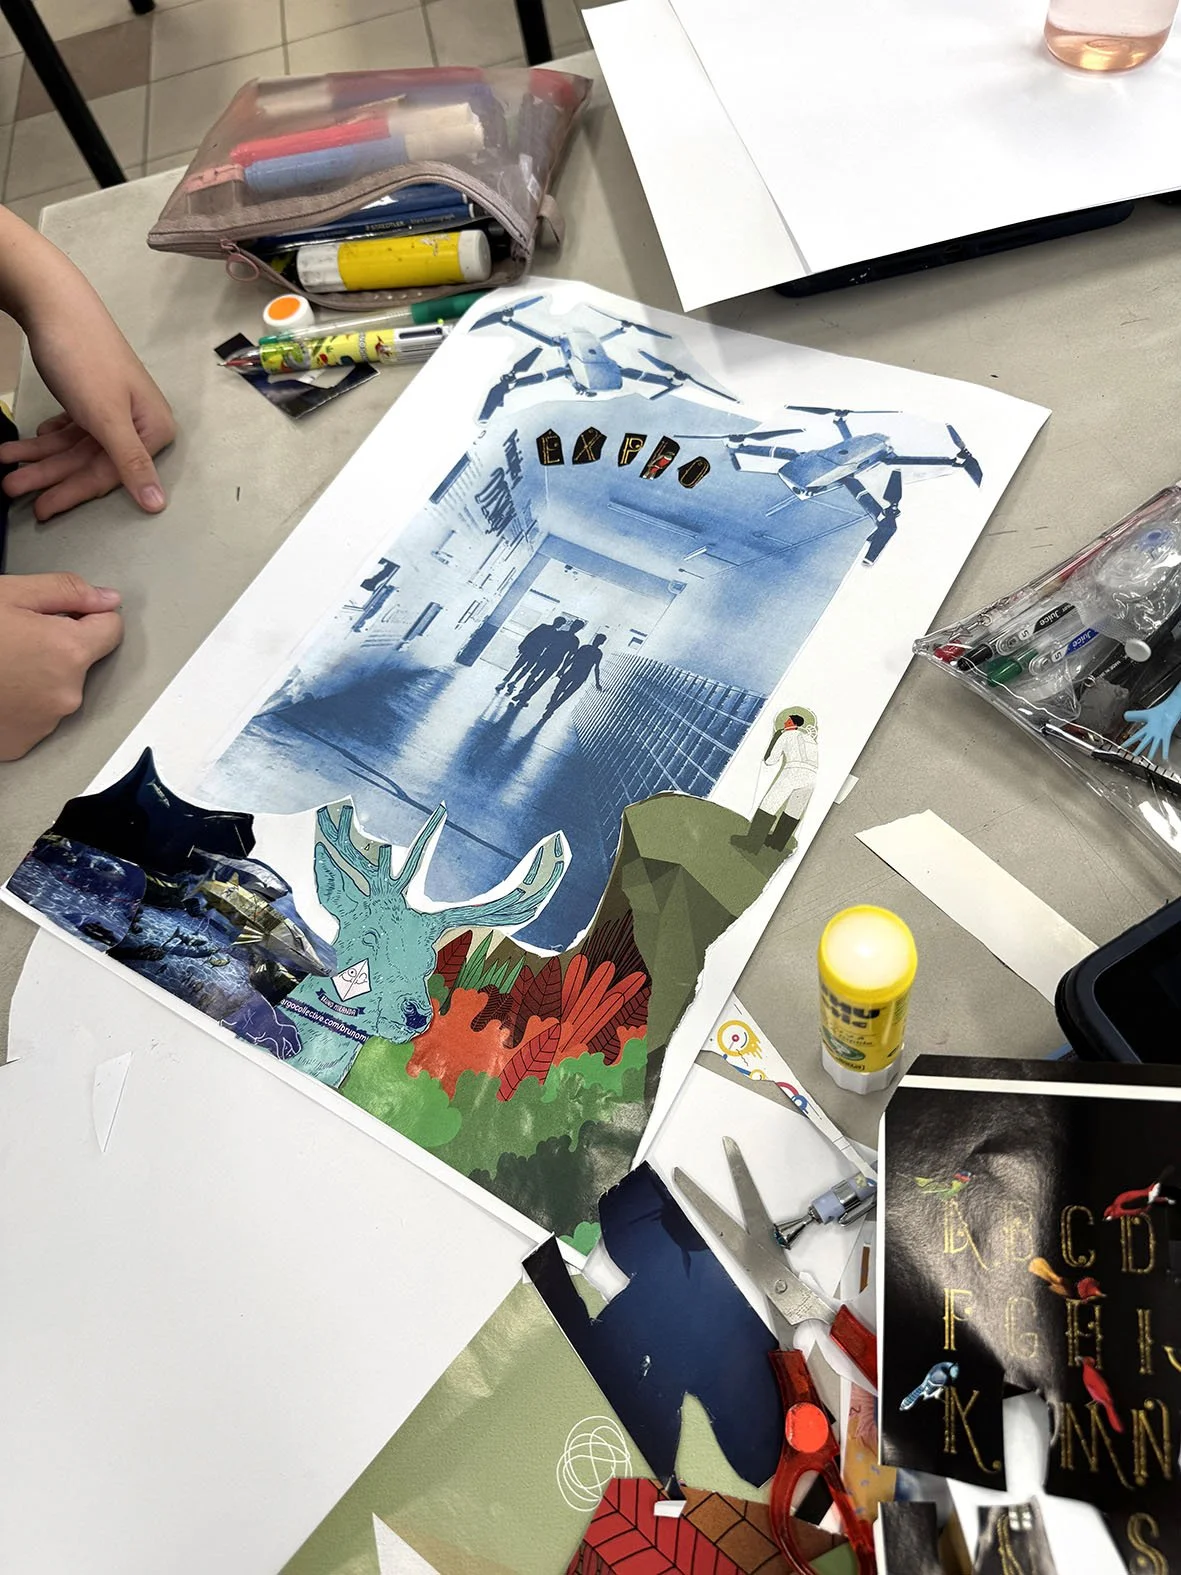
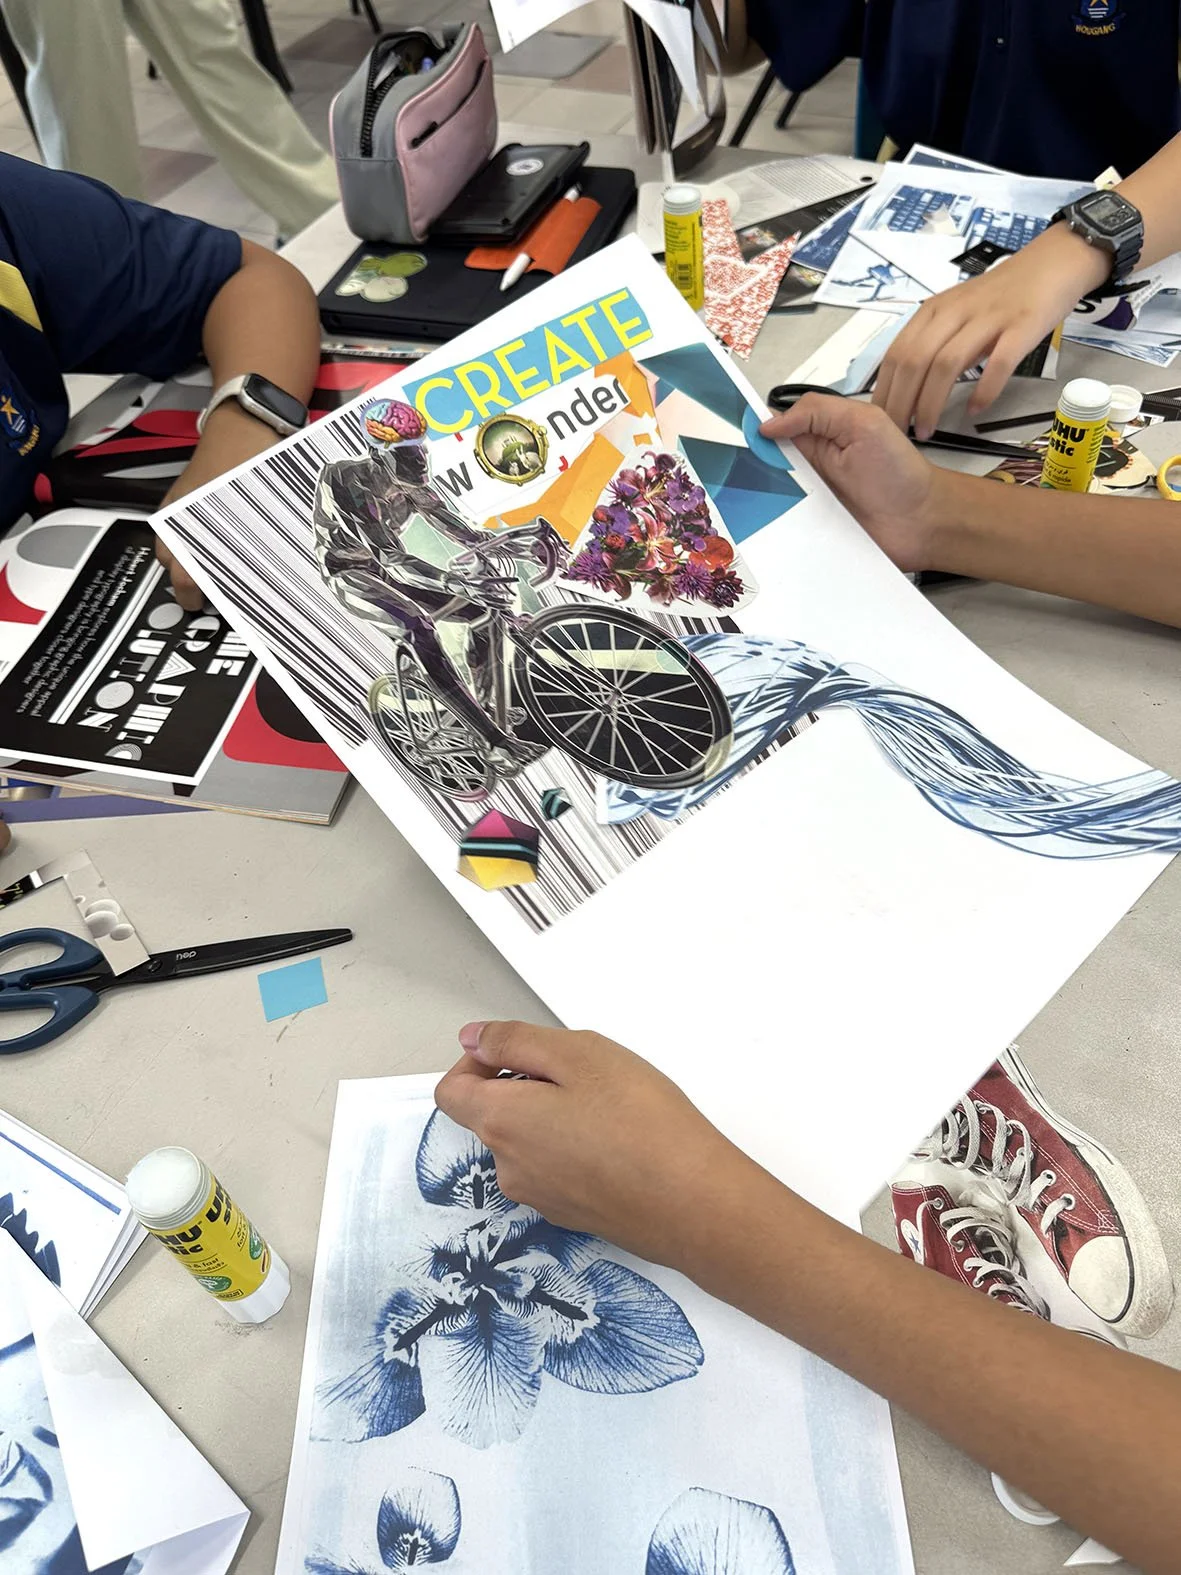
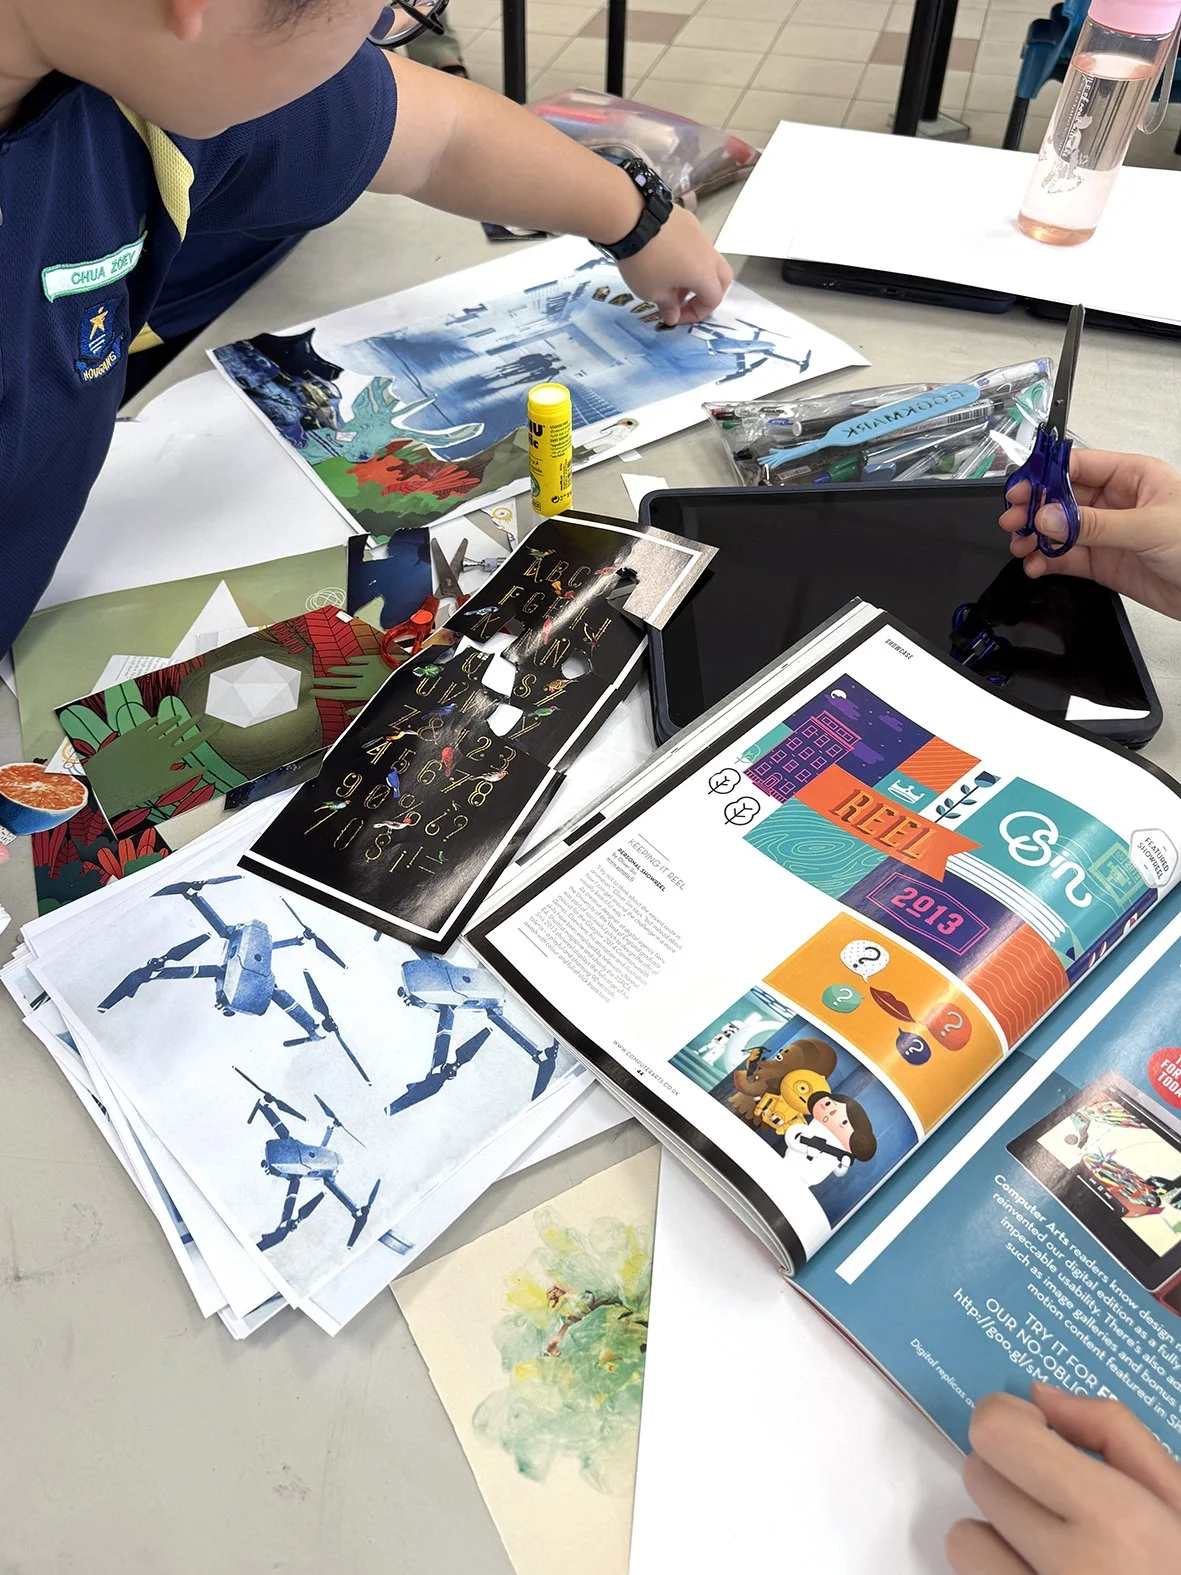
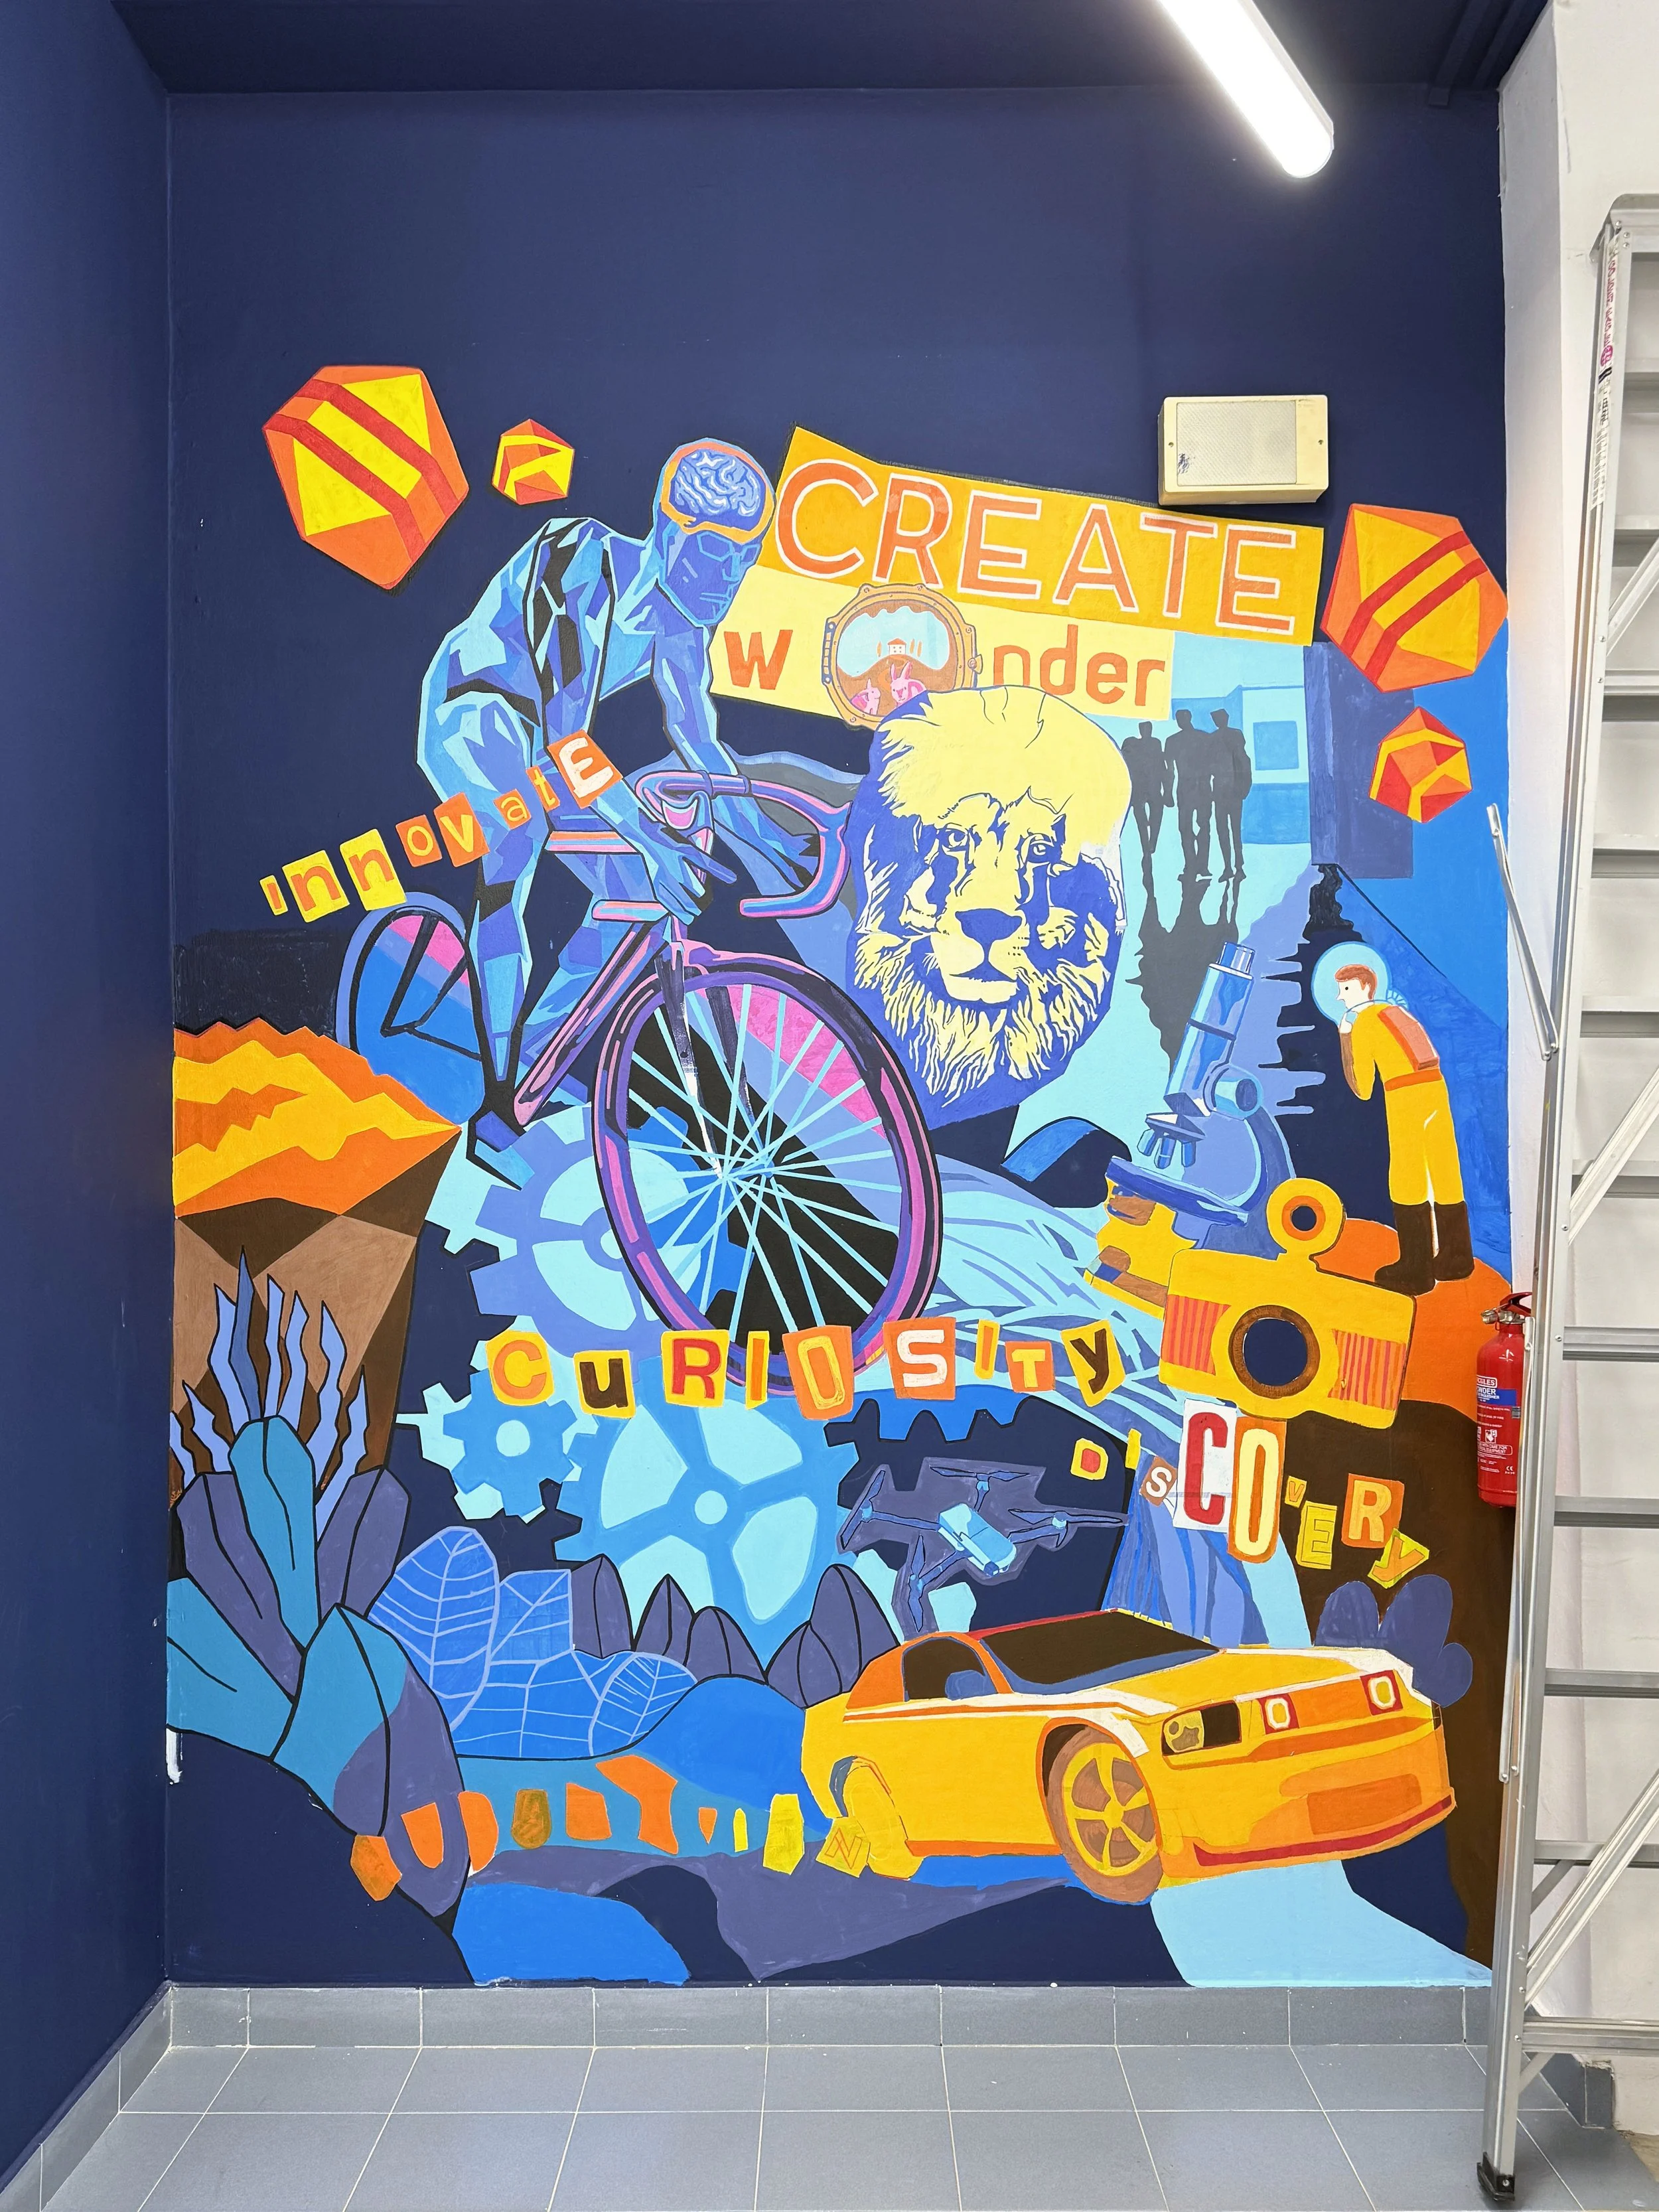
Once the collaborative collages were completed, the project moved into another stage: bringing the different compositions together as one mural design. The students' collages provided the visual building blocks for this process. With several different compositions to bring together, however, not every element could be carried into the mural equally. I took on the role of drawing connections between the works, adjusting scale and placement, and finding a visual rhythm that could hold the different contributions together.This was also a practical decision. Translating multiple collages into a large-scale mural required another level of design and technical planning, particularly within the time we had available. Rather than expecting the students to resolve all of these complexities themselves, their creative contributions became the foundation from which the final composition was developed.Mapping Out the Colours
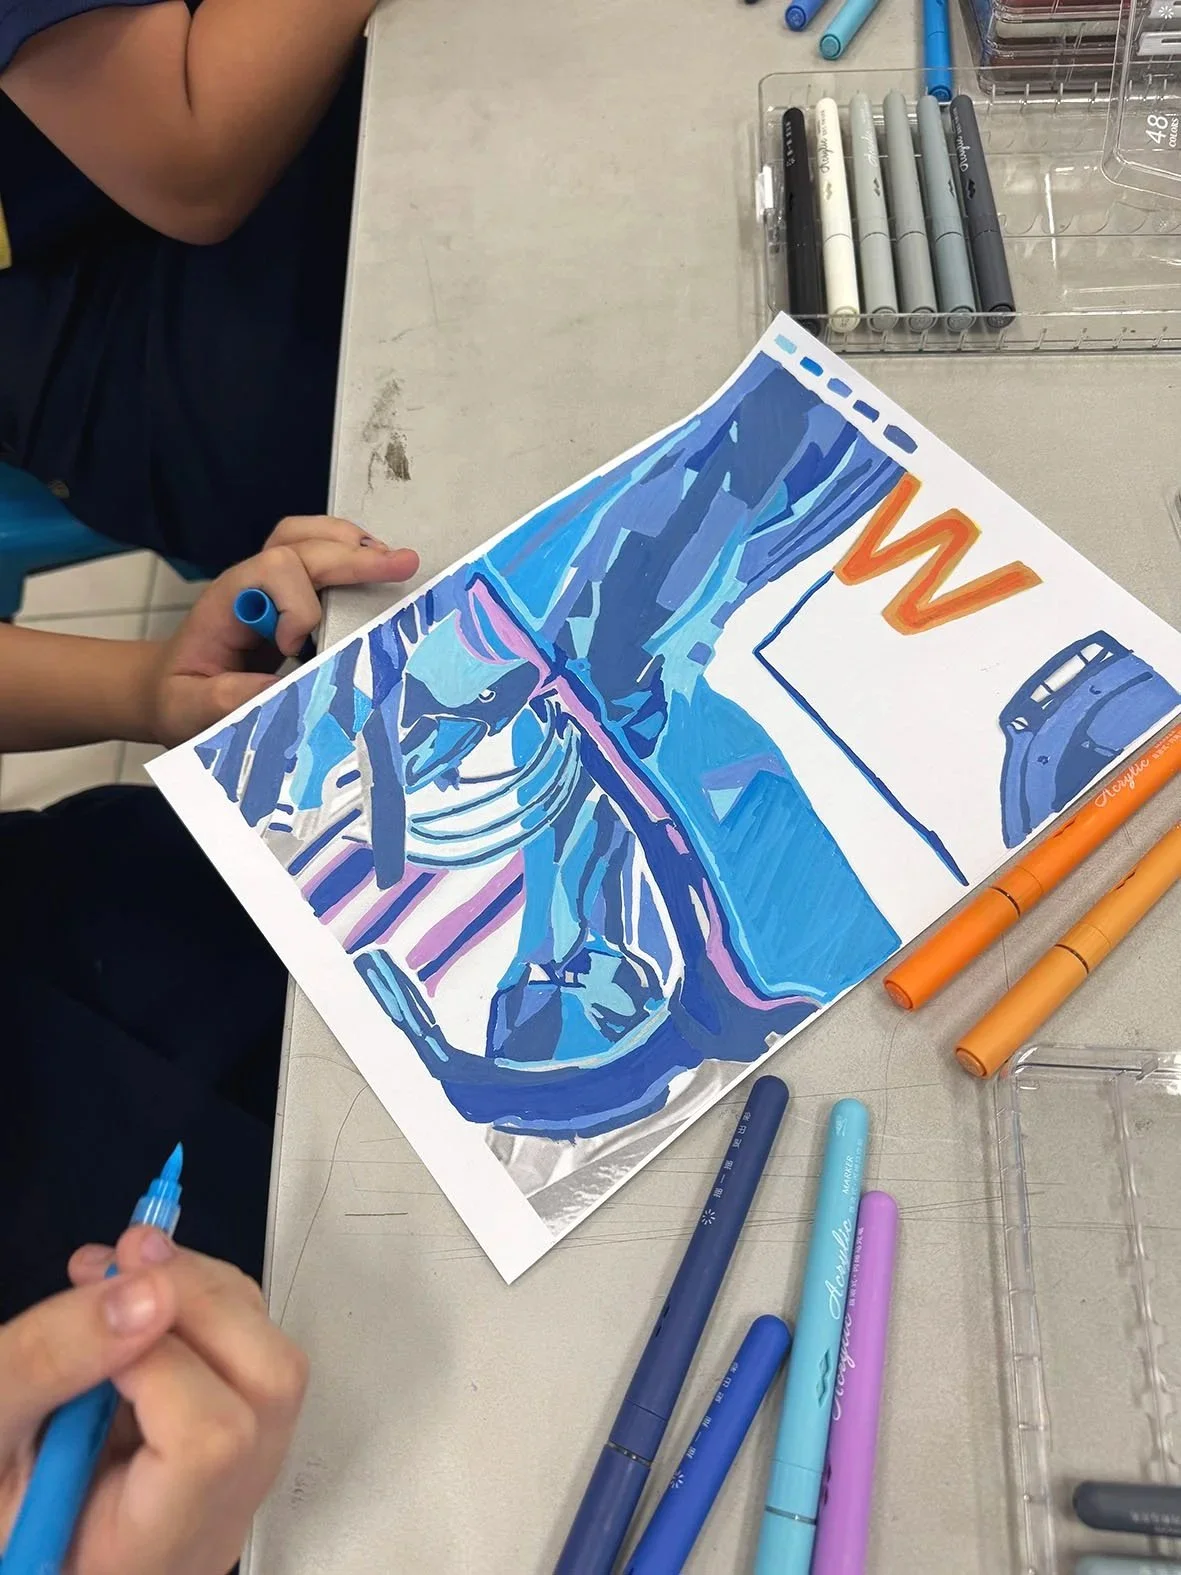
With the overall composition in place, the design was brought back to the students for the next major decision: colour.We looked at how colour harmony can be created through a 60–30–10 approach, using examples from Studio Ghibli to explore the idea. Roughly 60% of the composition would be given to a dominant colour, 30% to a secondary colour, and the remaining 10% to another colour or accent. Rather than prescribing exactly which colours the students had to use, the ratio gave them a simple structure for thinking about balance.Working with the consolidated mural design, students then decided on their colour scheme and began mapping the colours across the different areas of the composition. They had to consider not only which colours worked well together, but also where and how frequently each colour should appear across the mural.In this way, the composition provided a common structure, while colour became another opportunity for students to make decisions about how the final mural would look.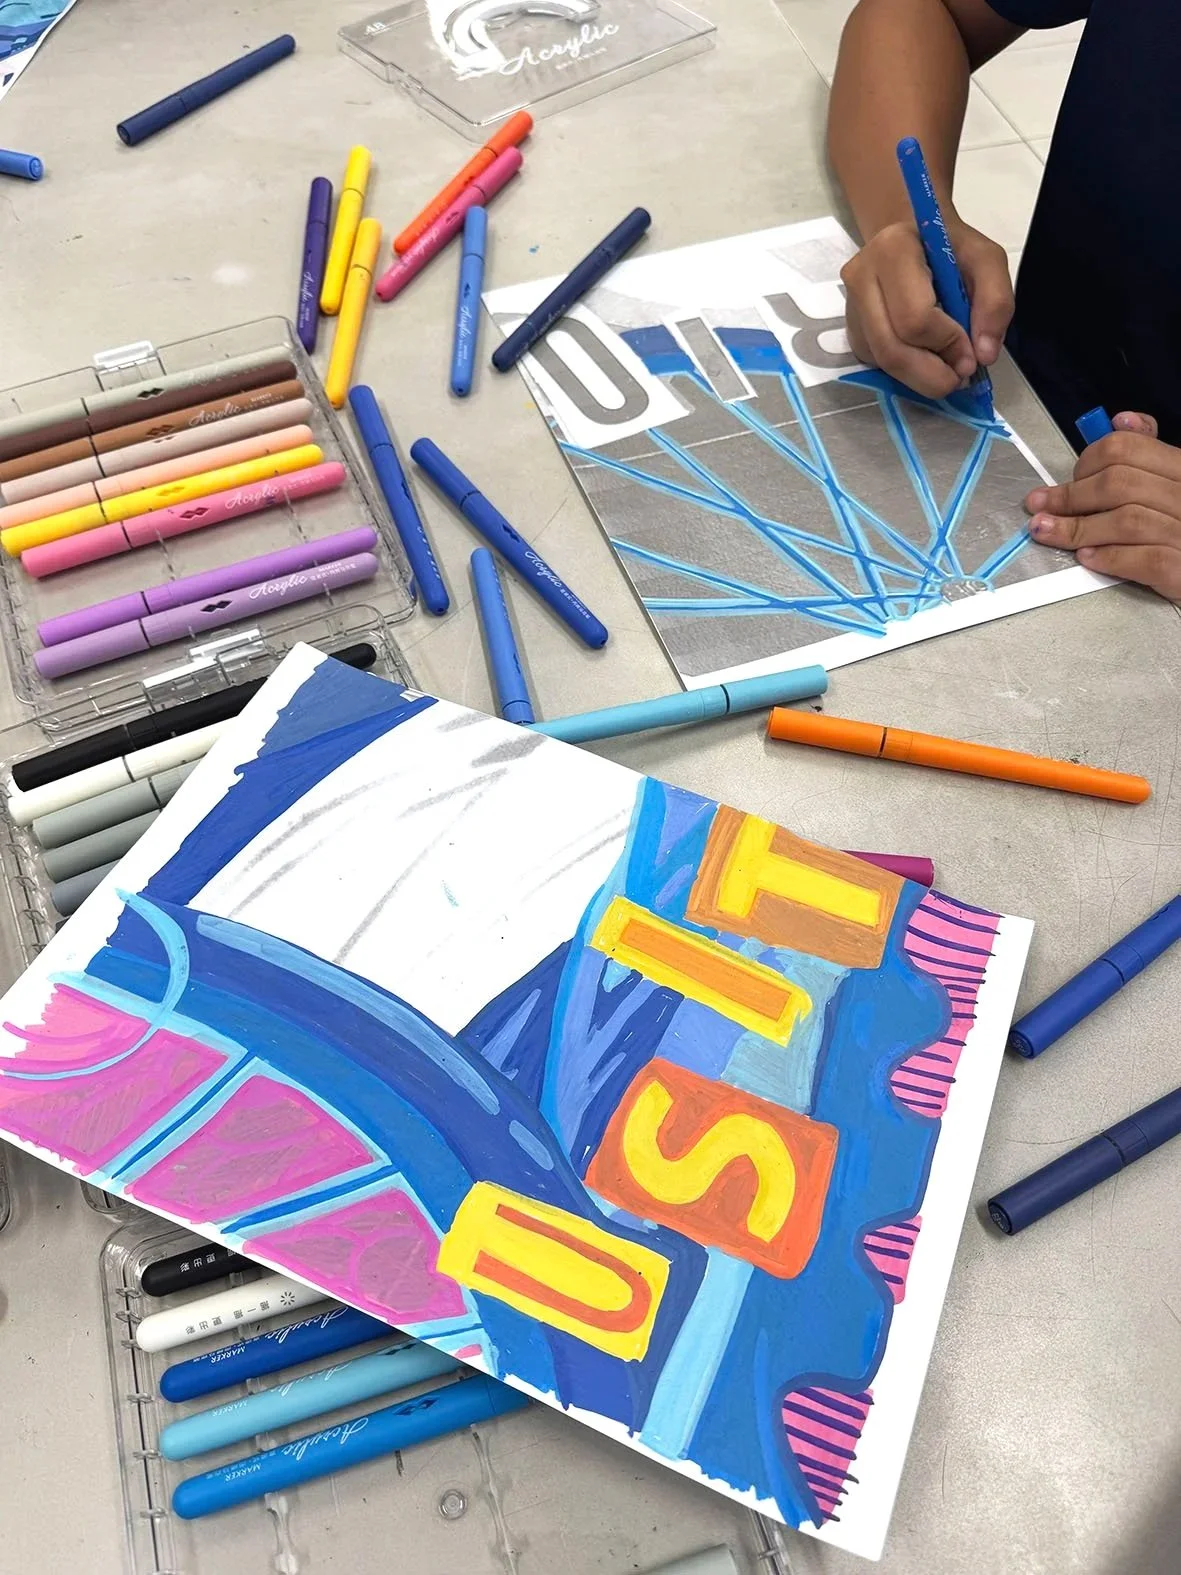
From Design to Wall
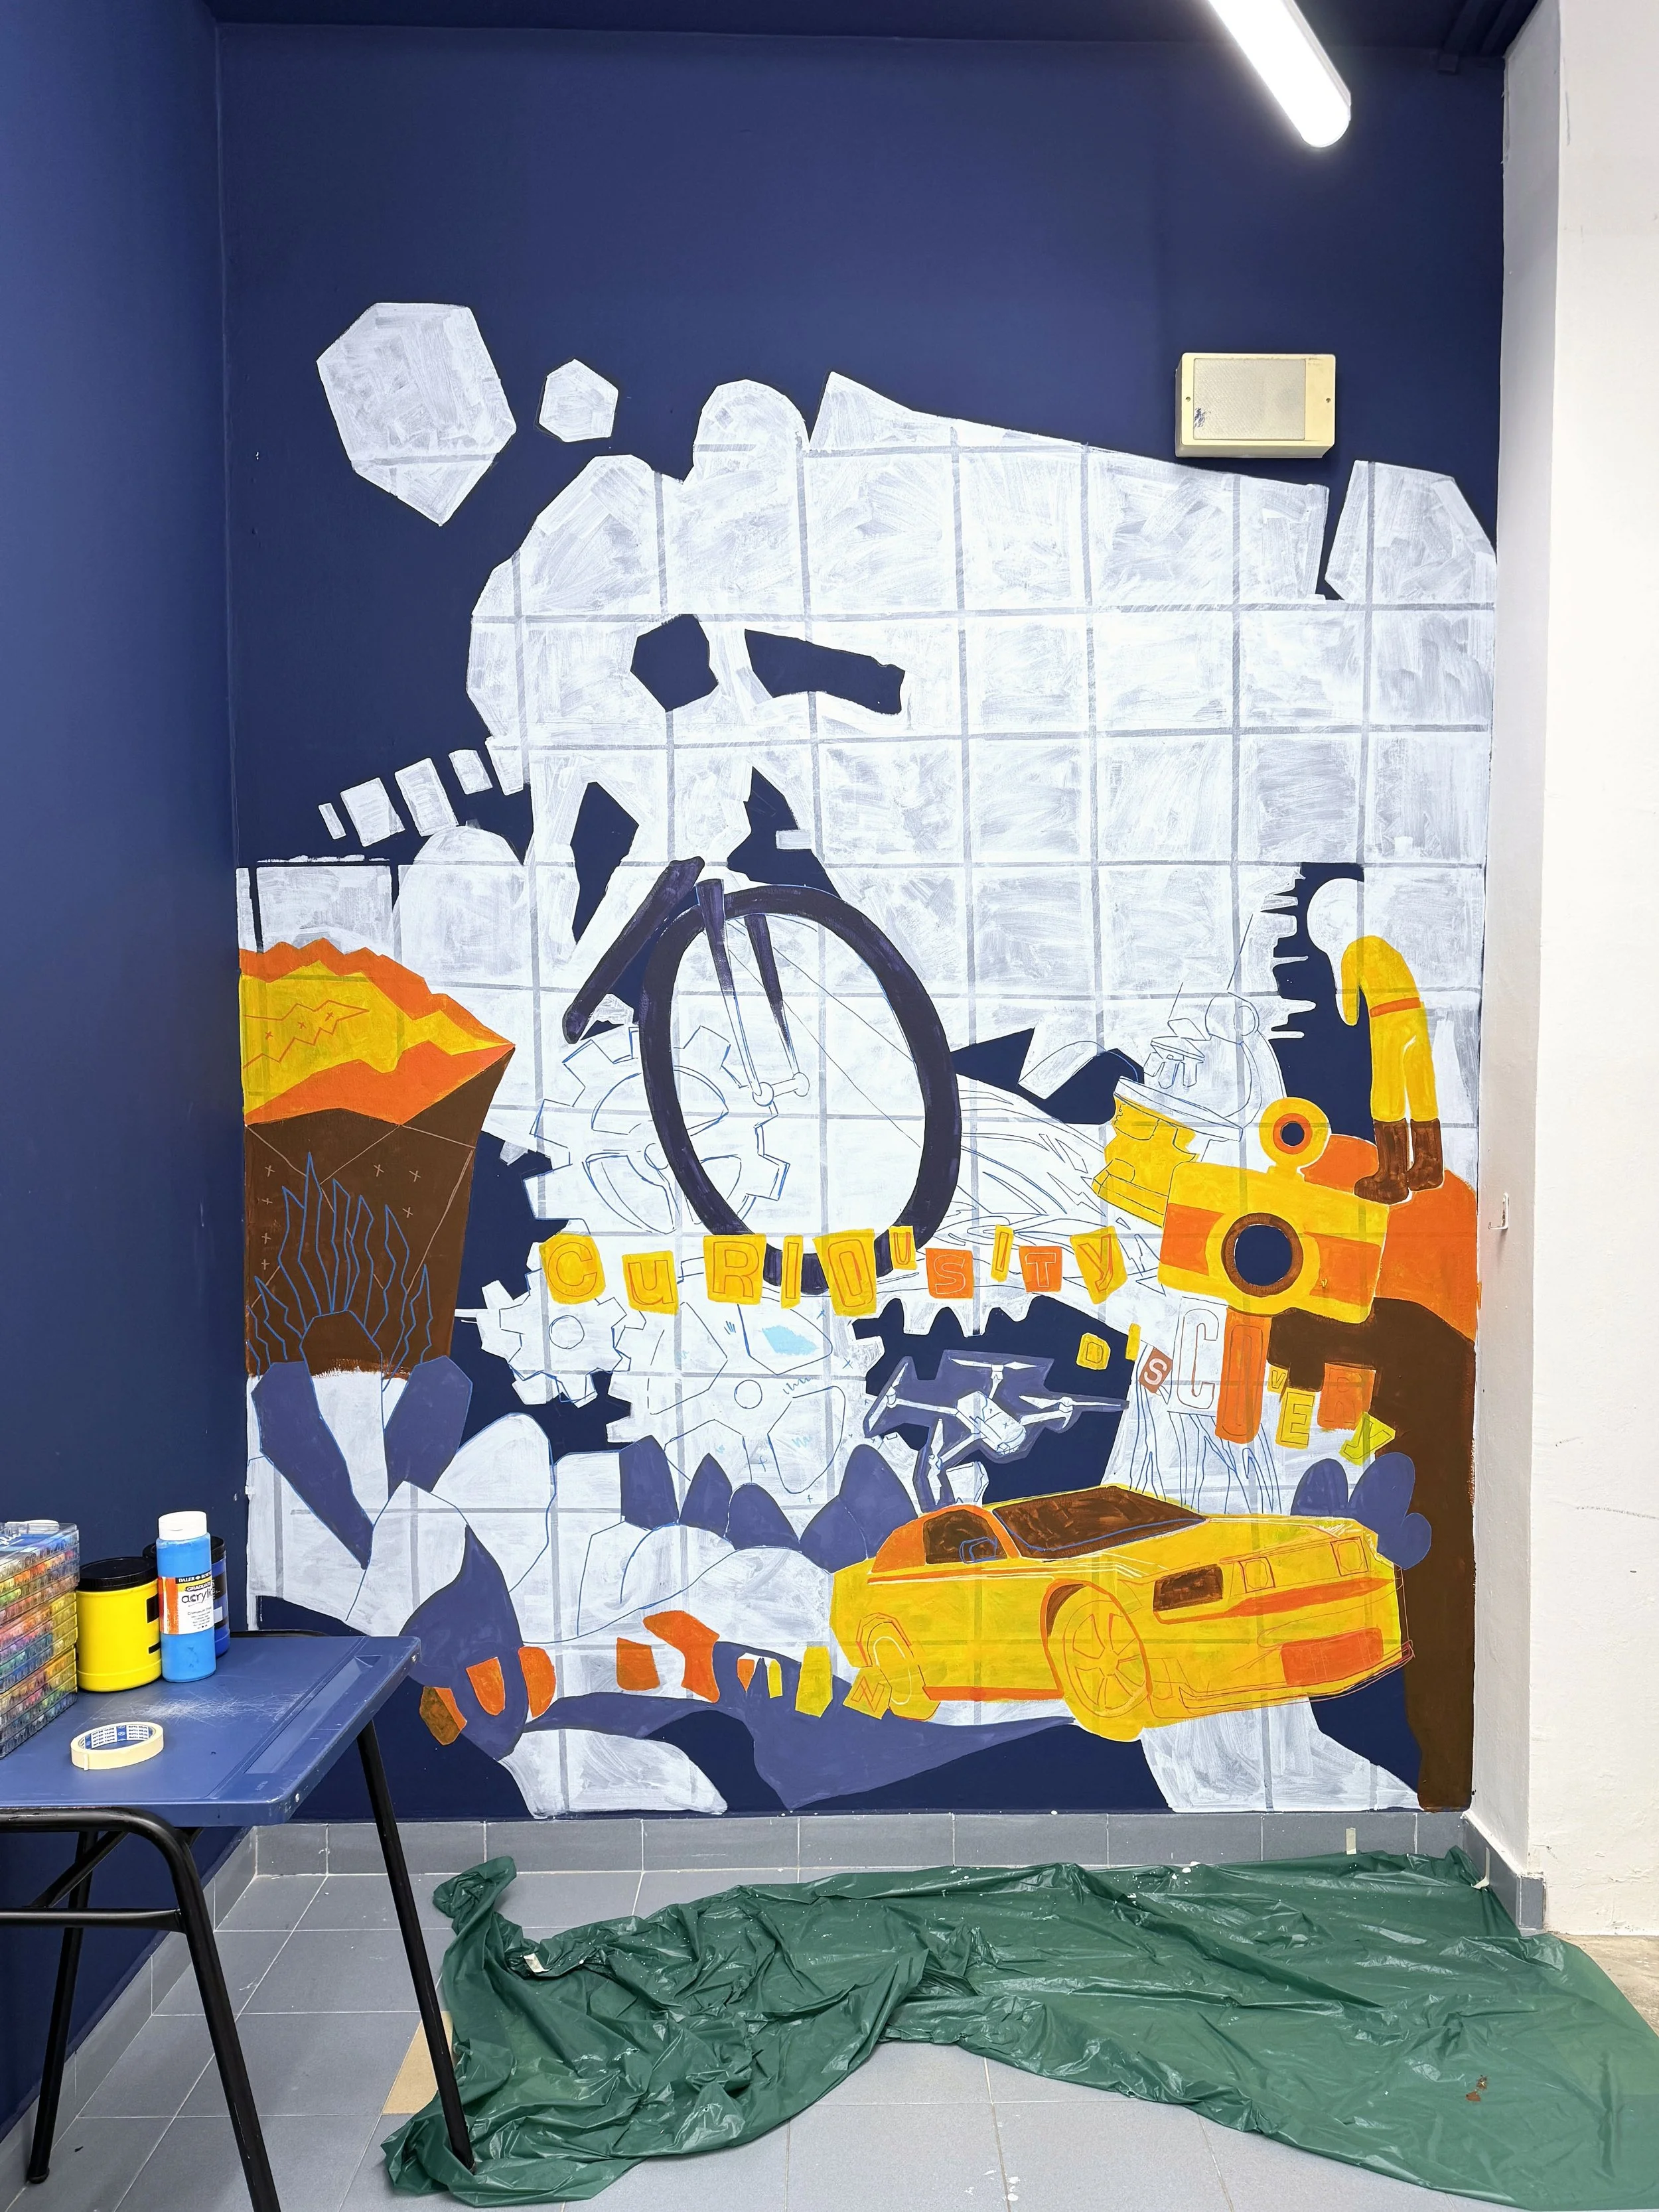
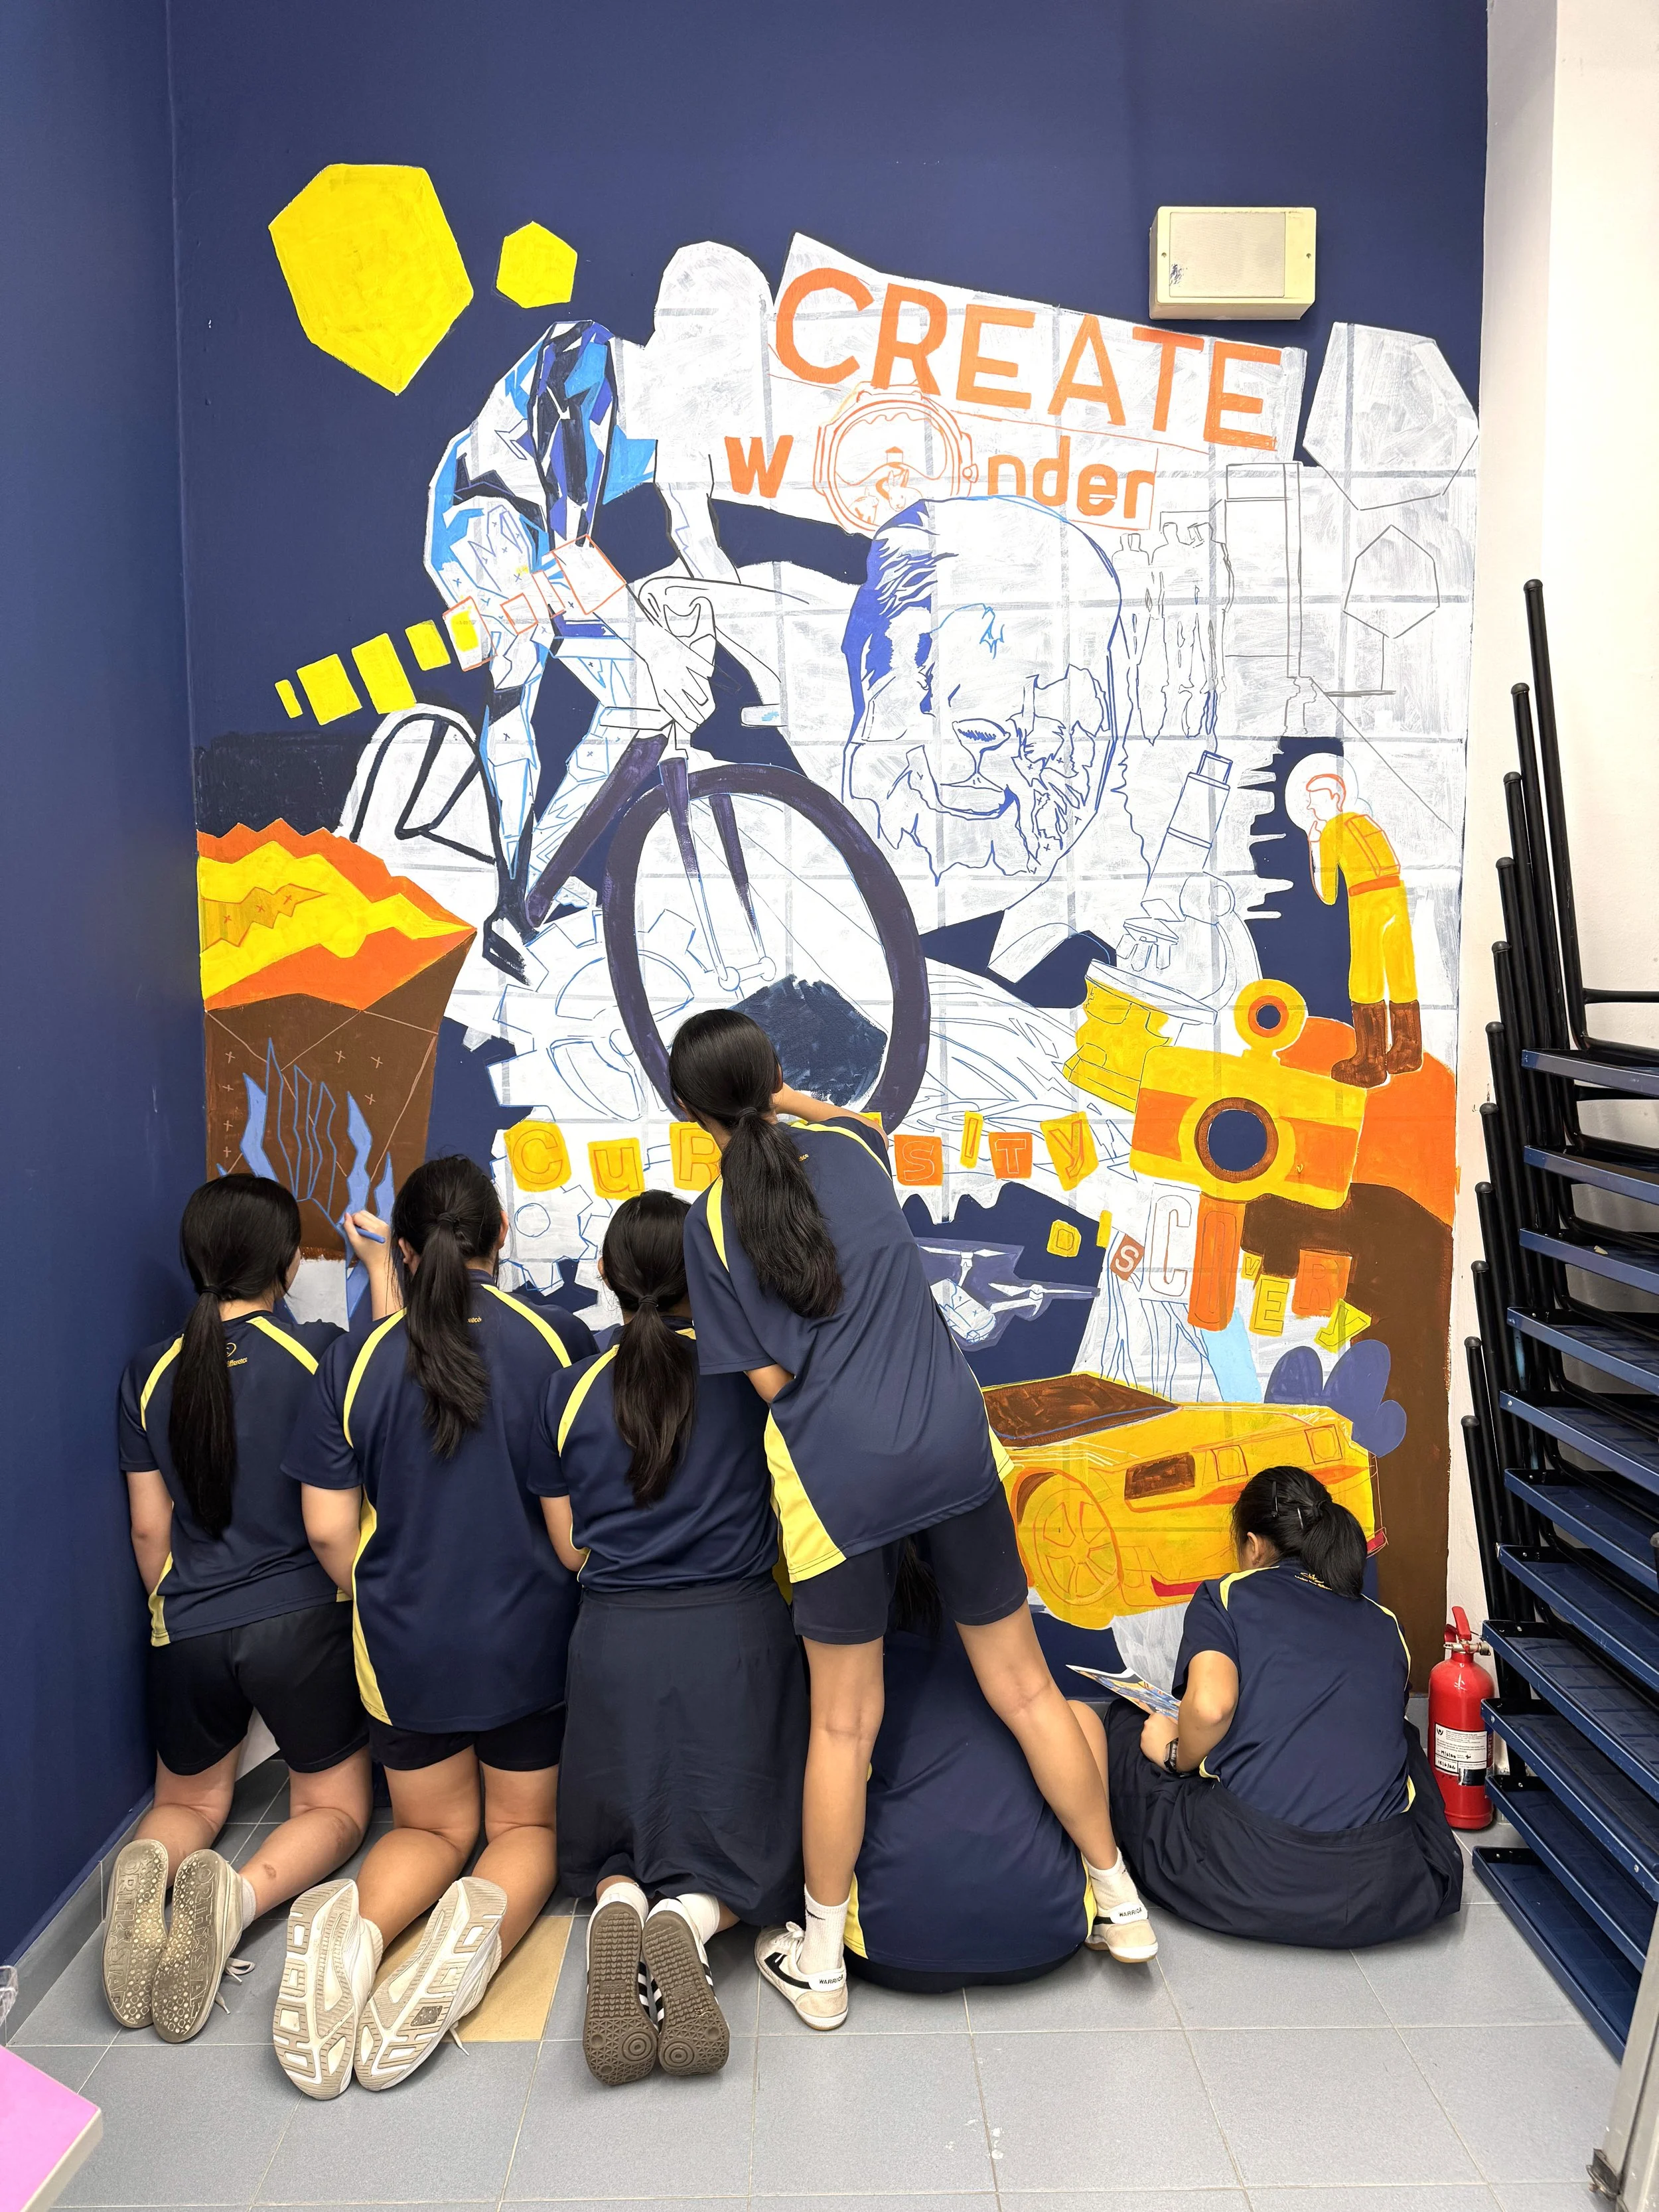
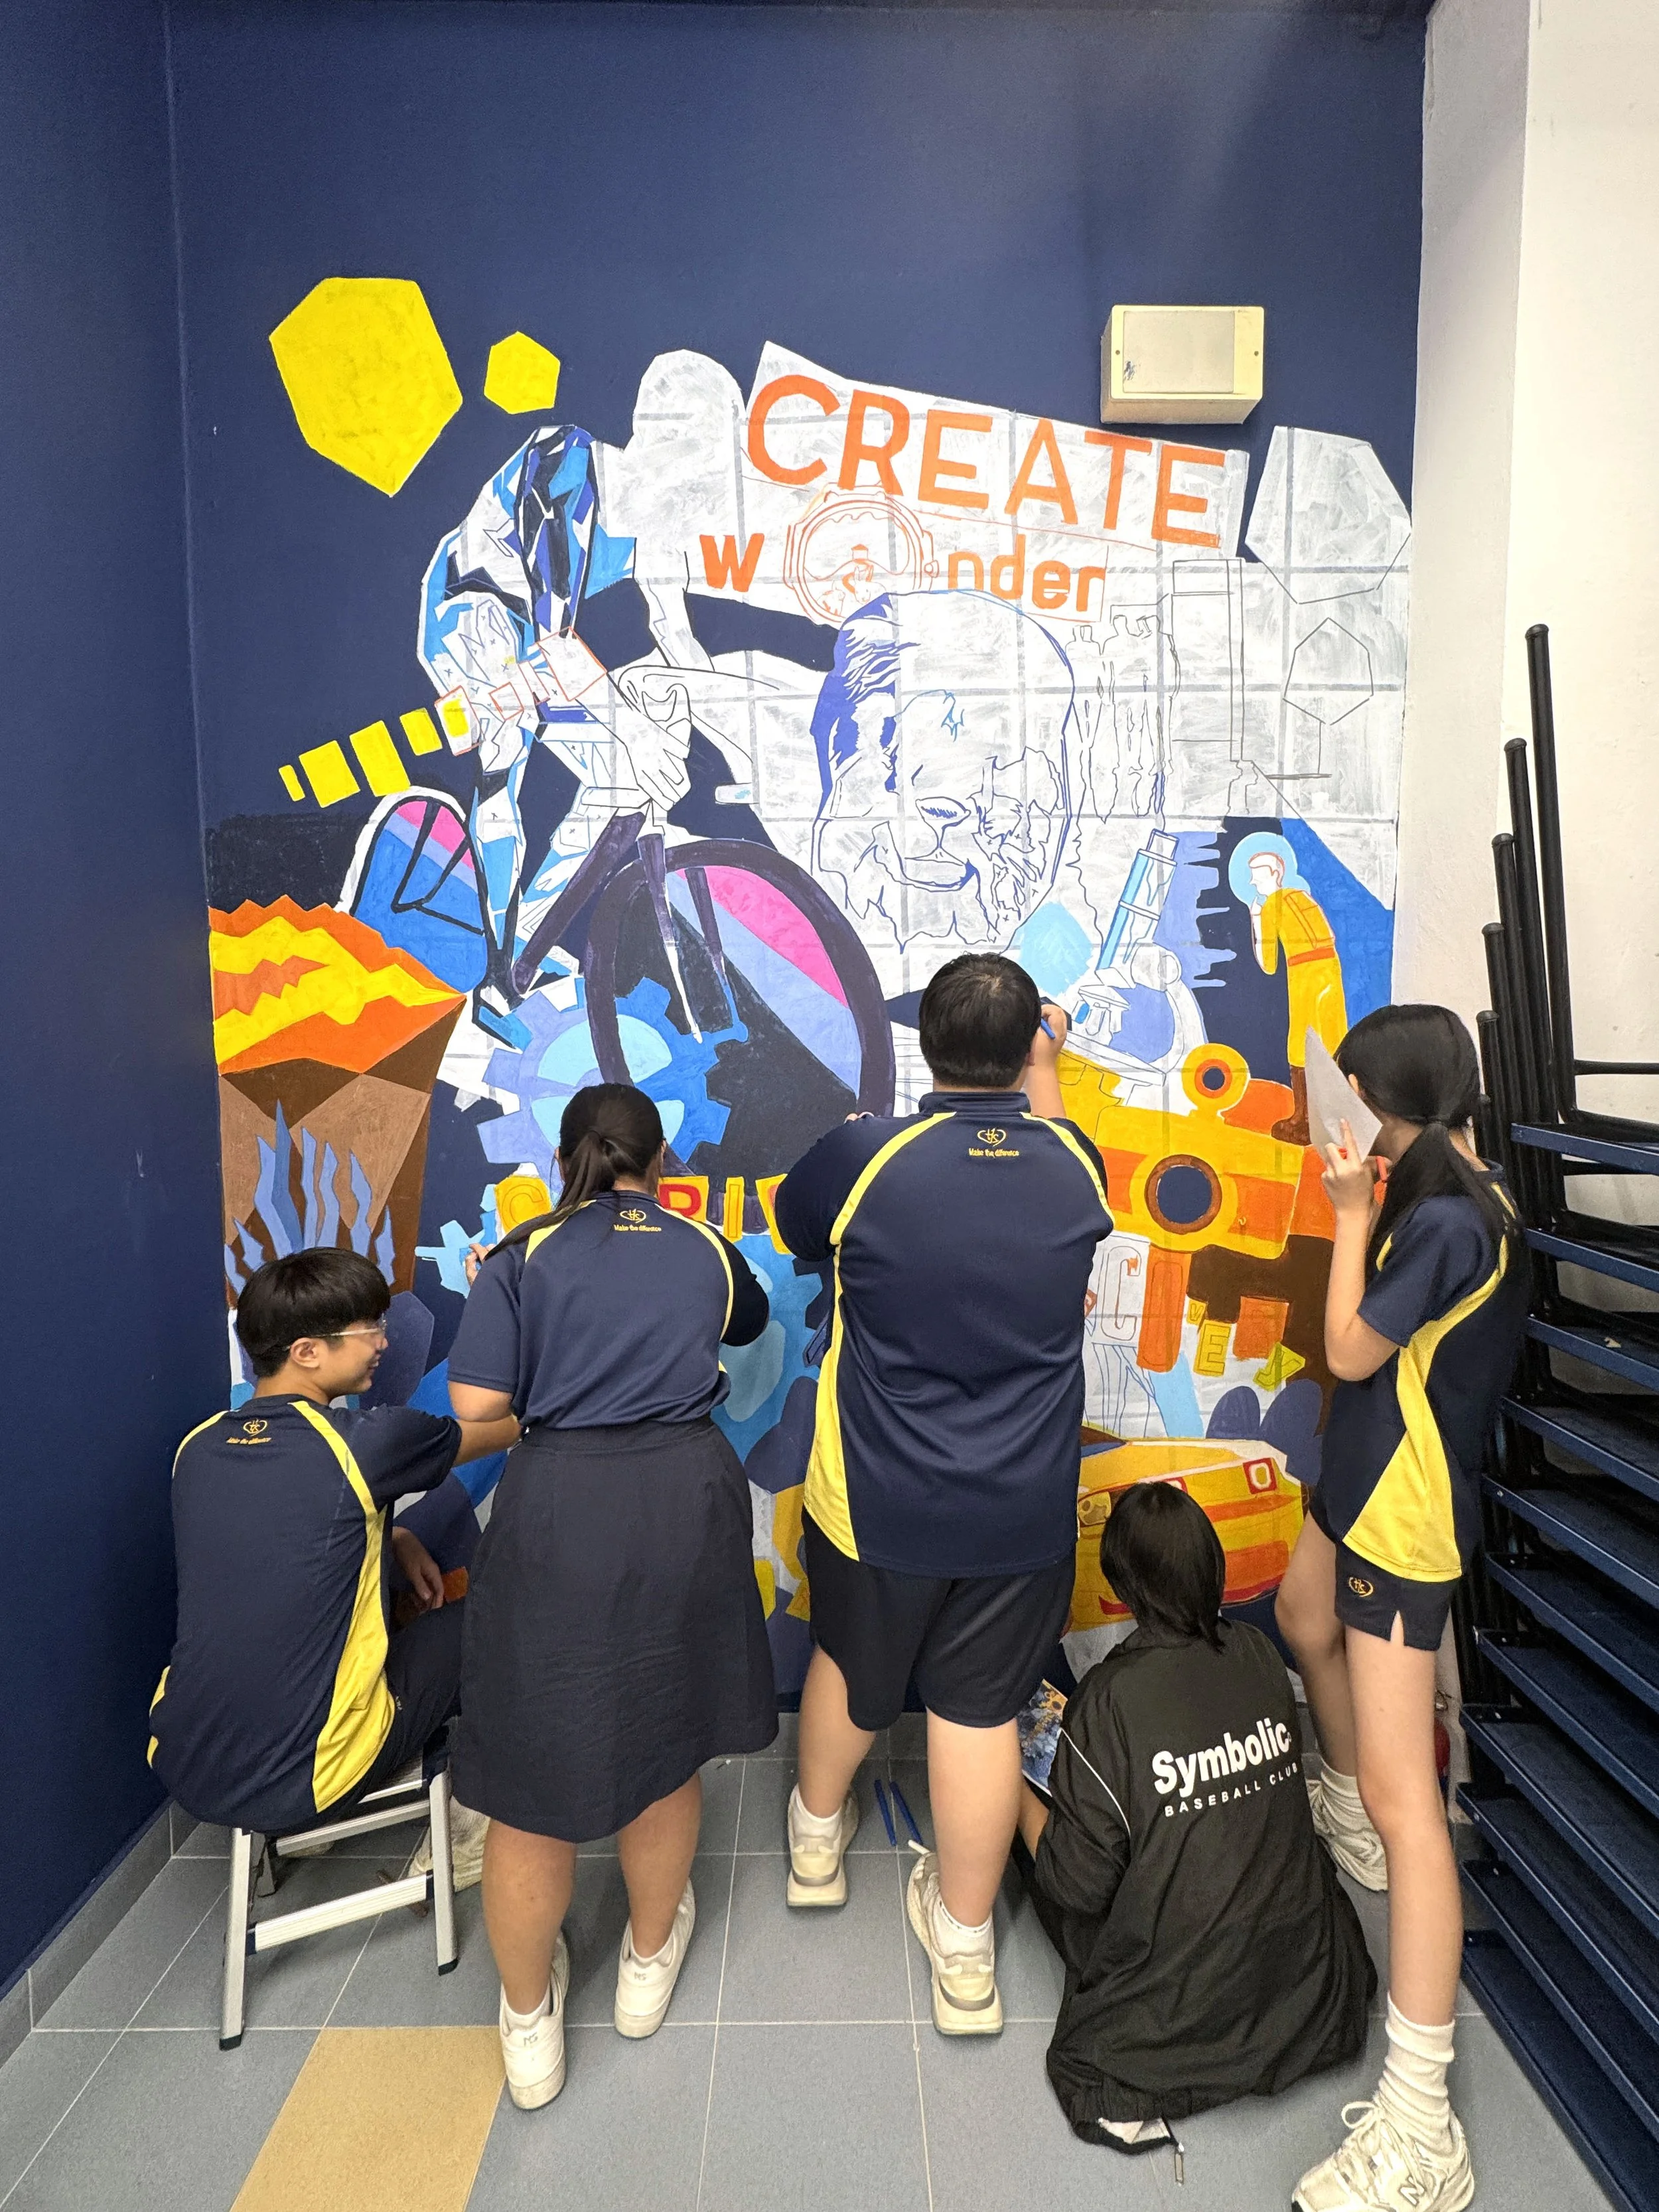
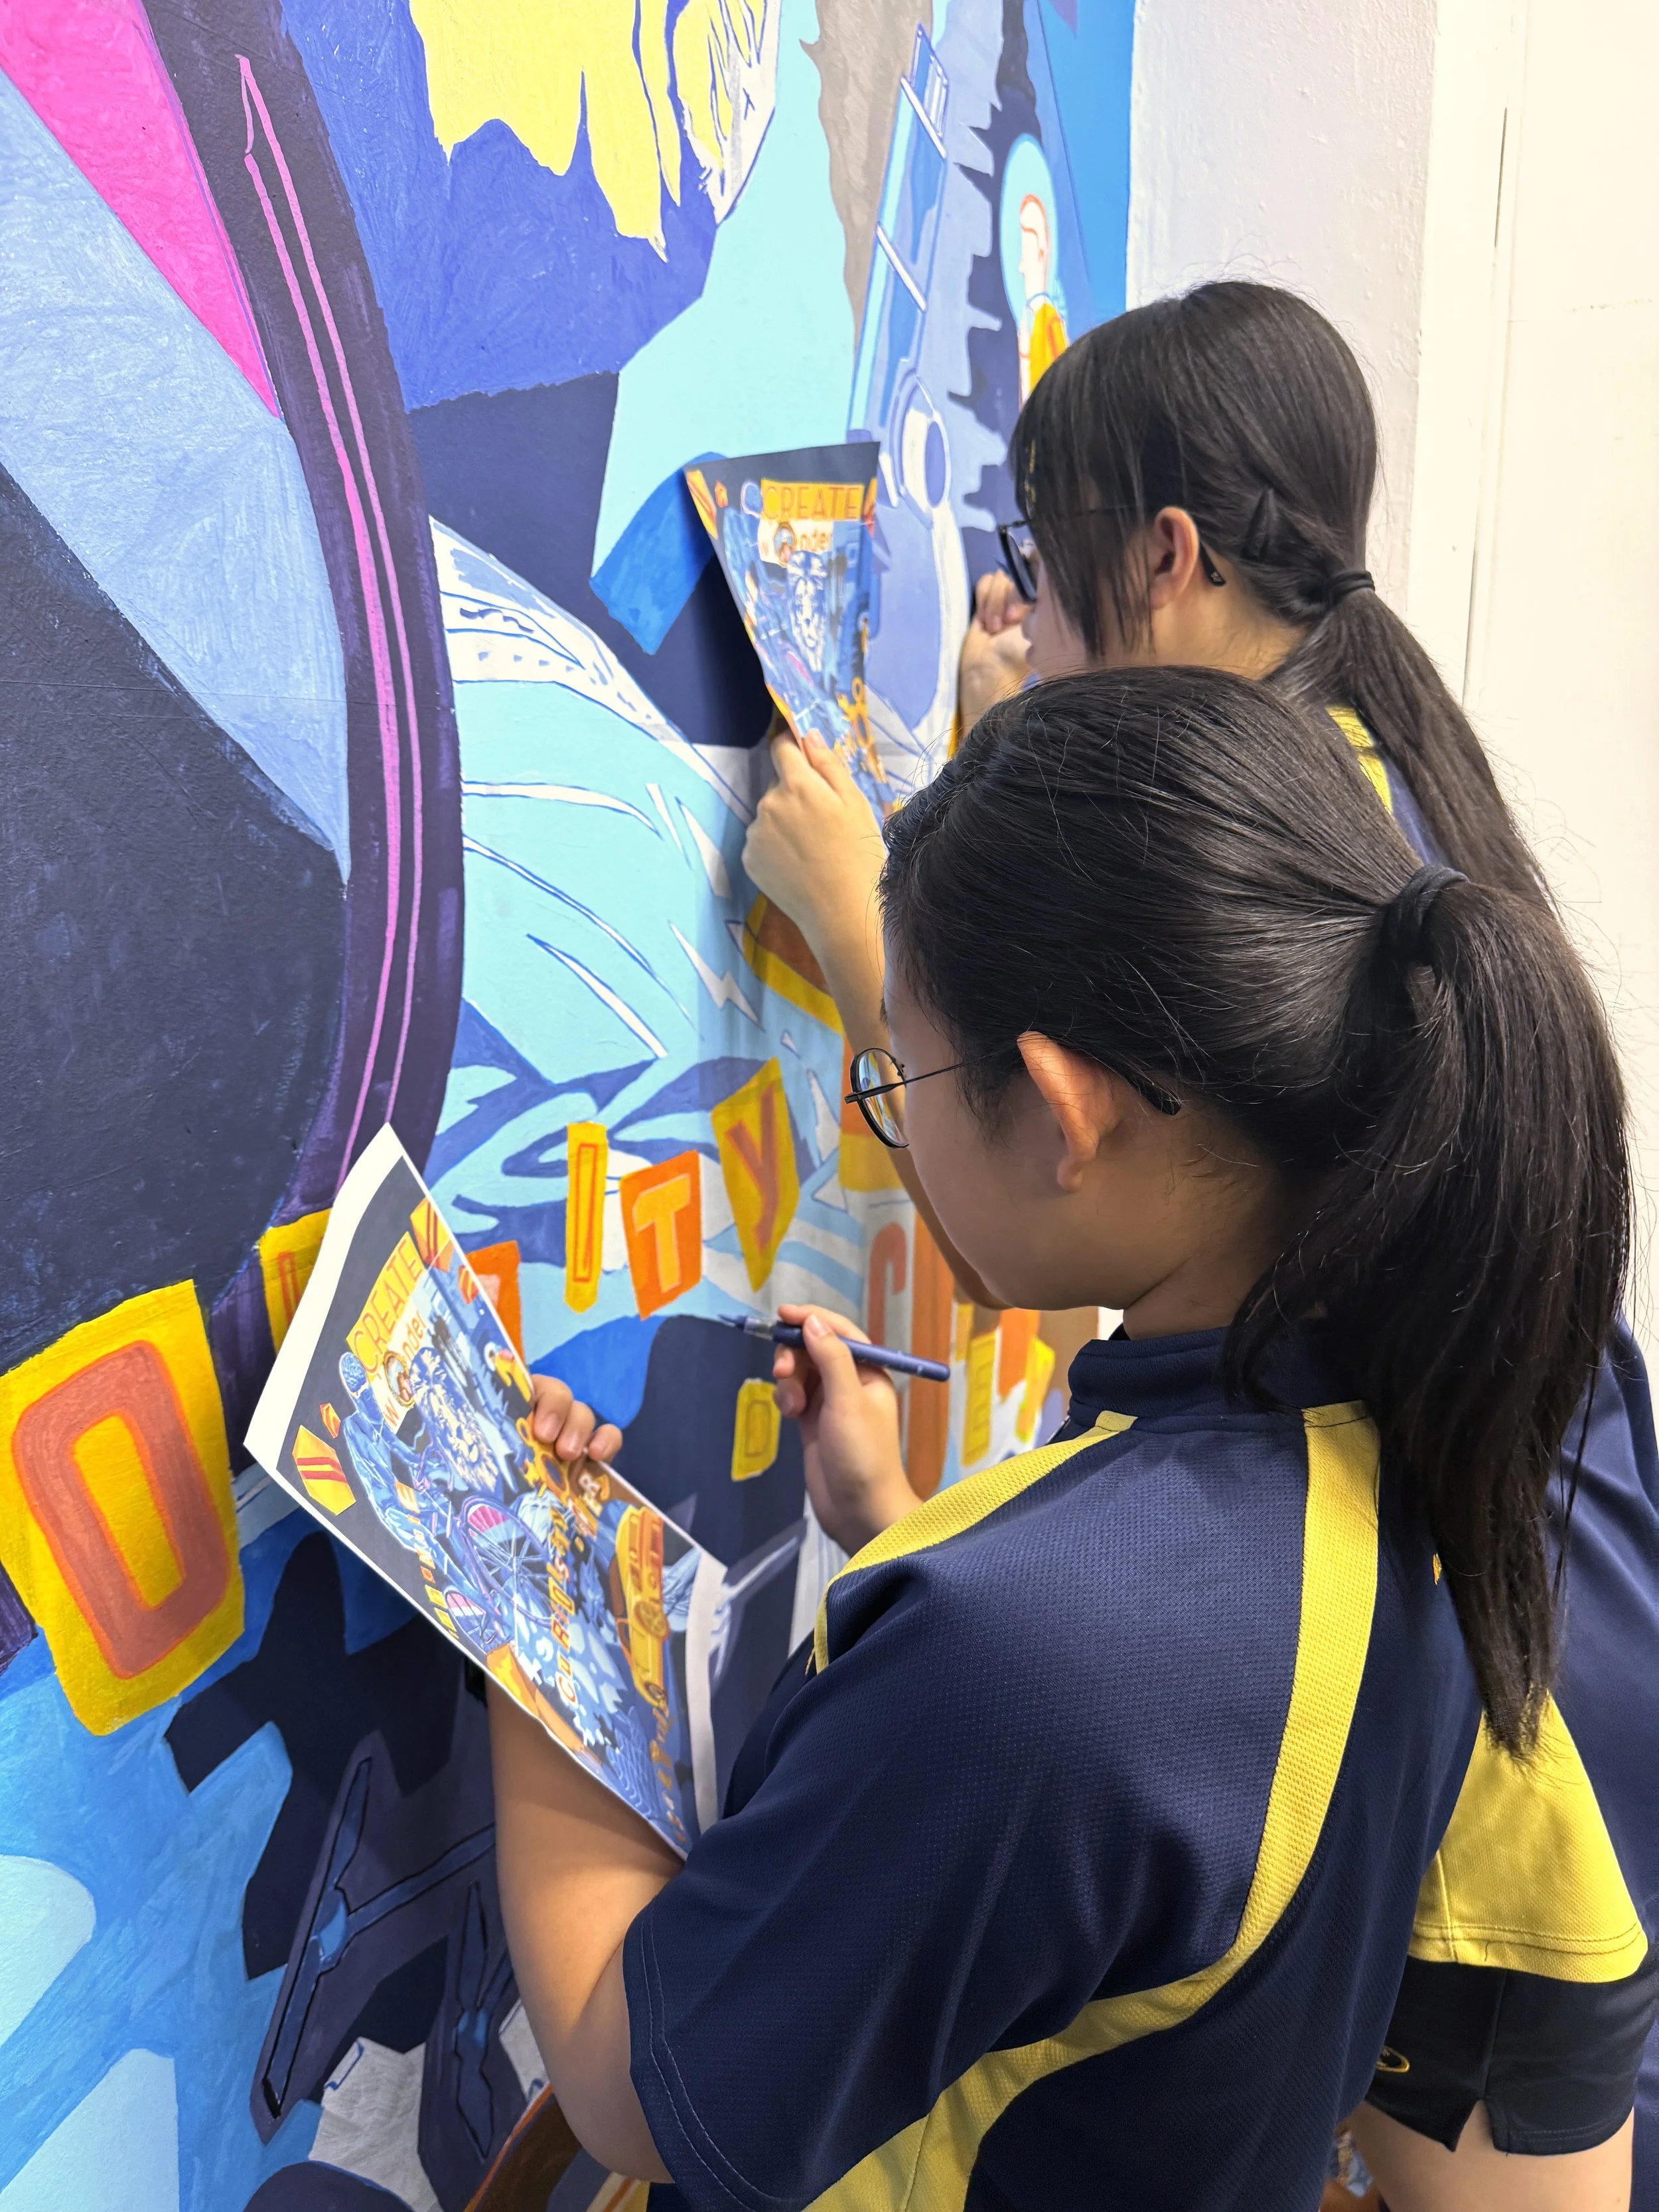
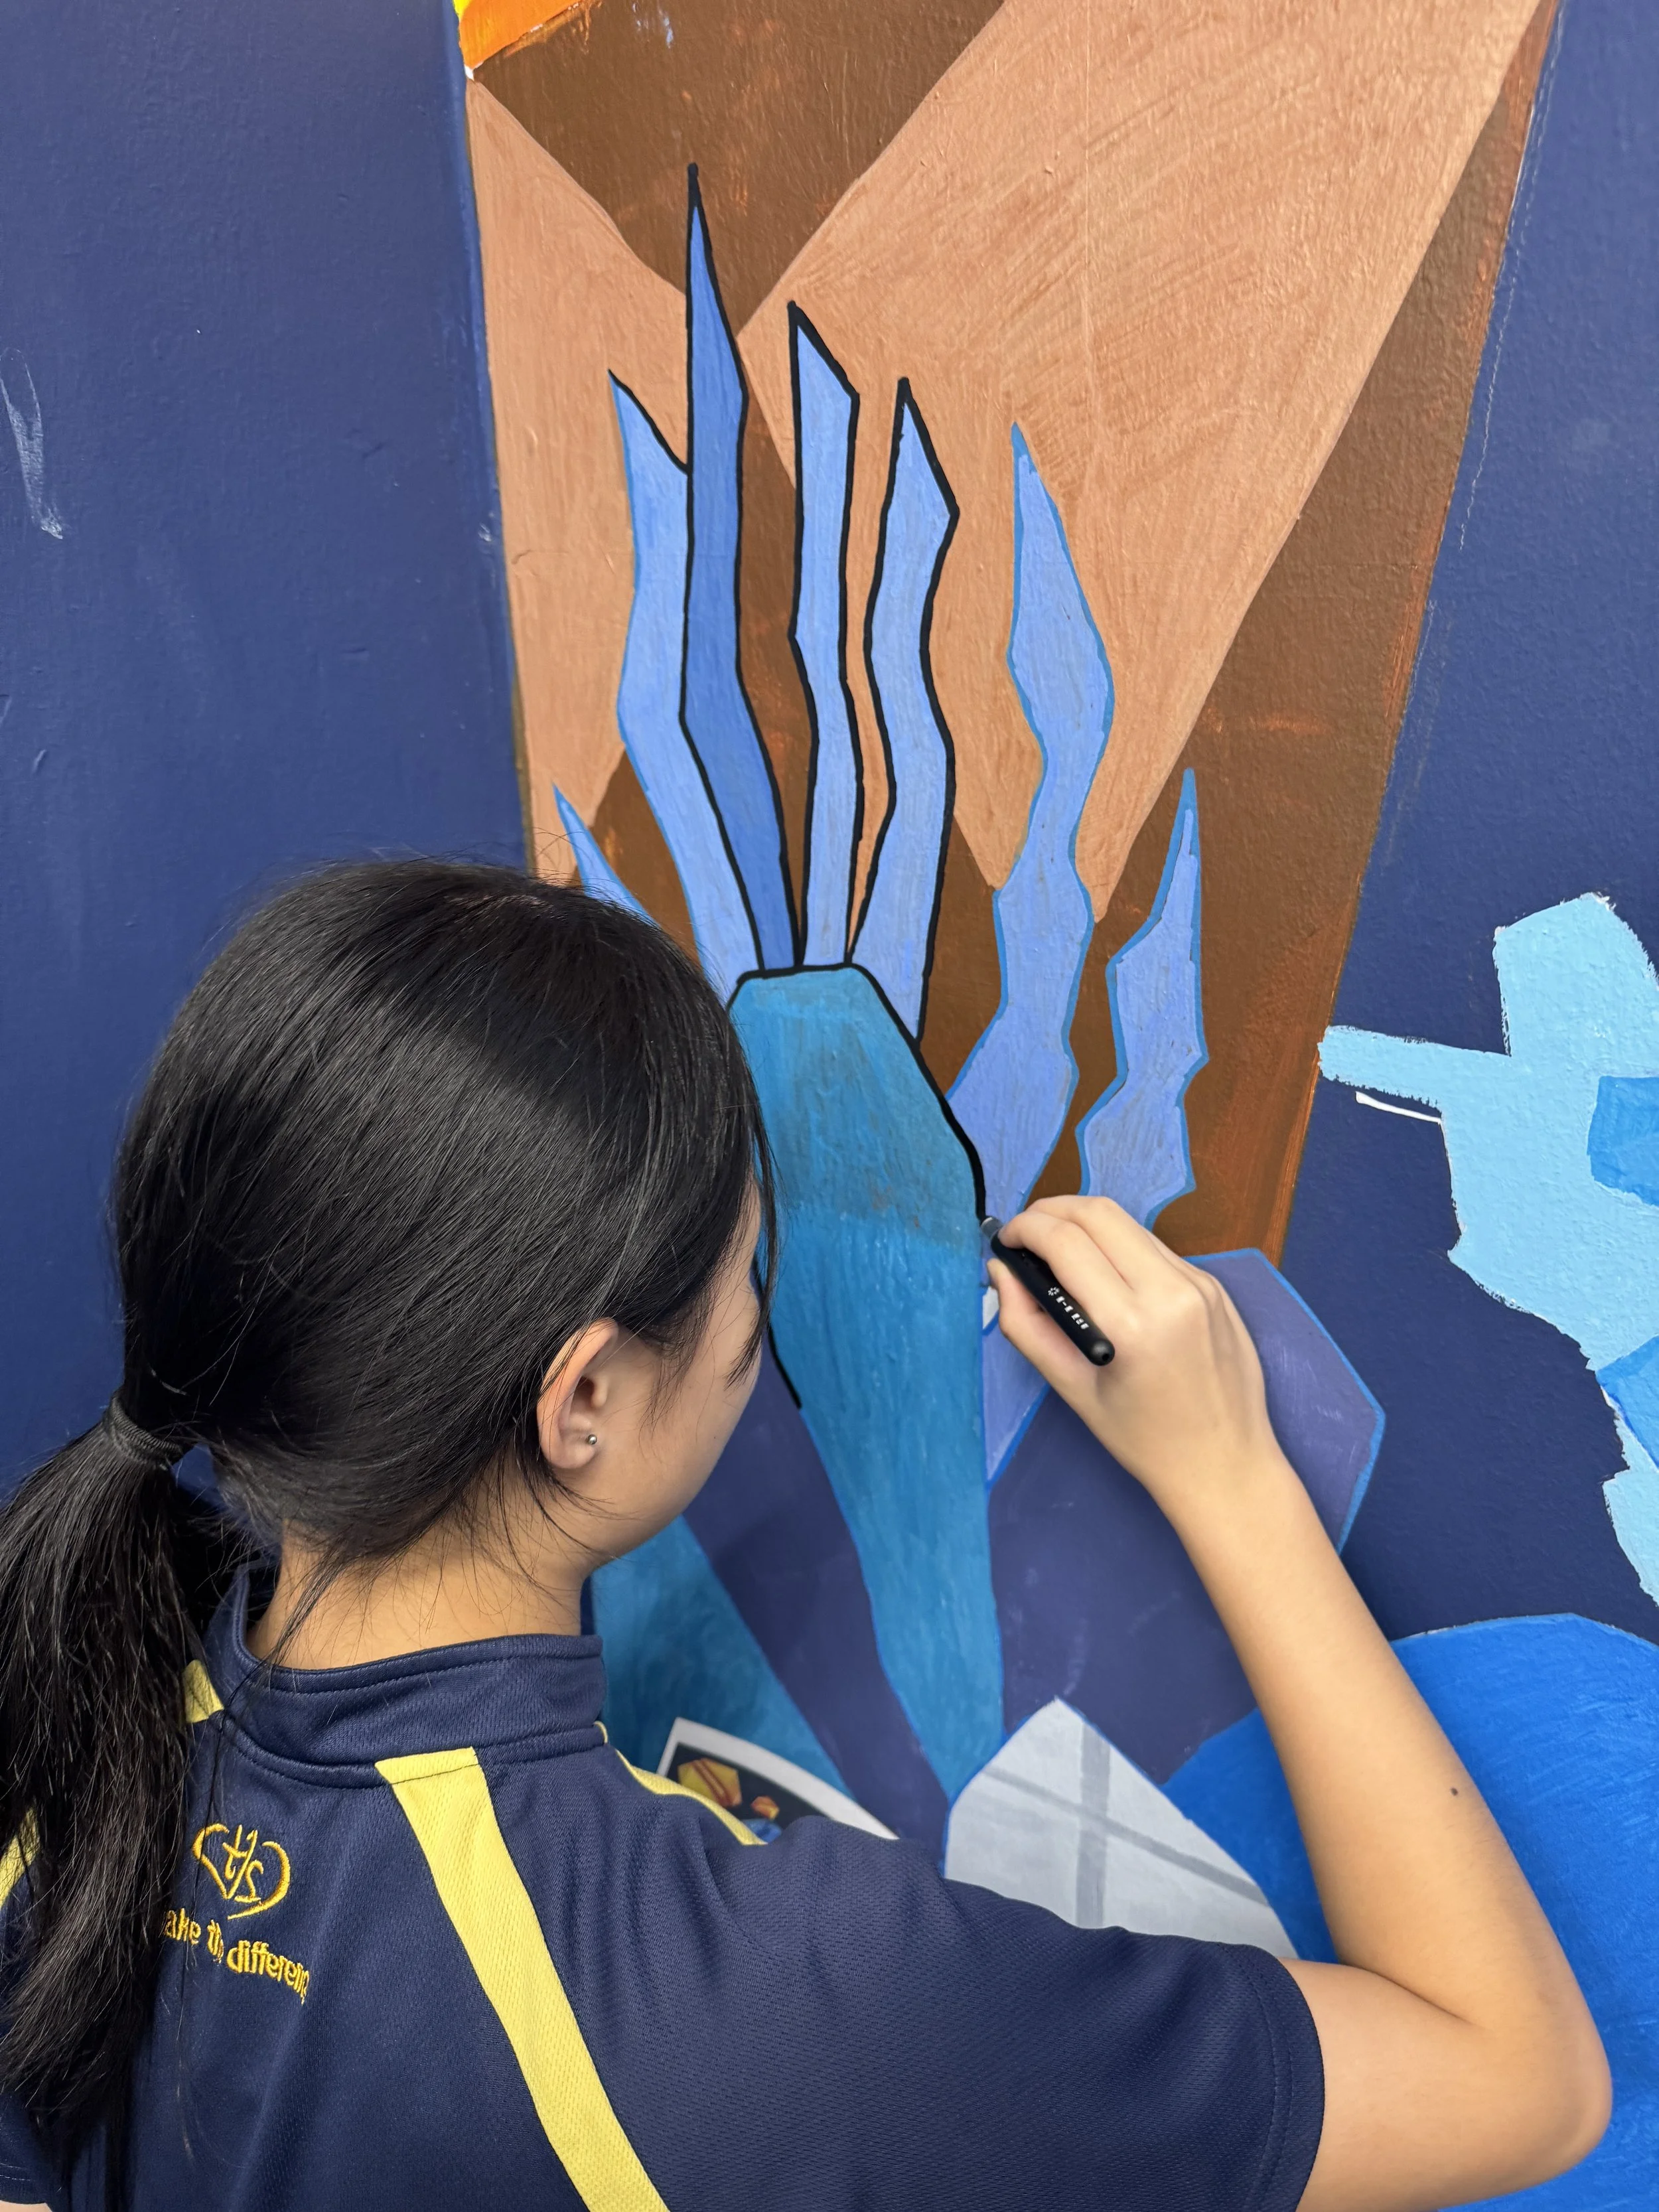
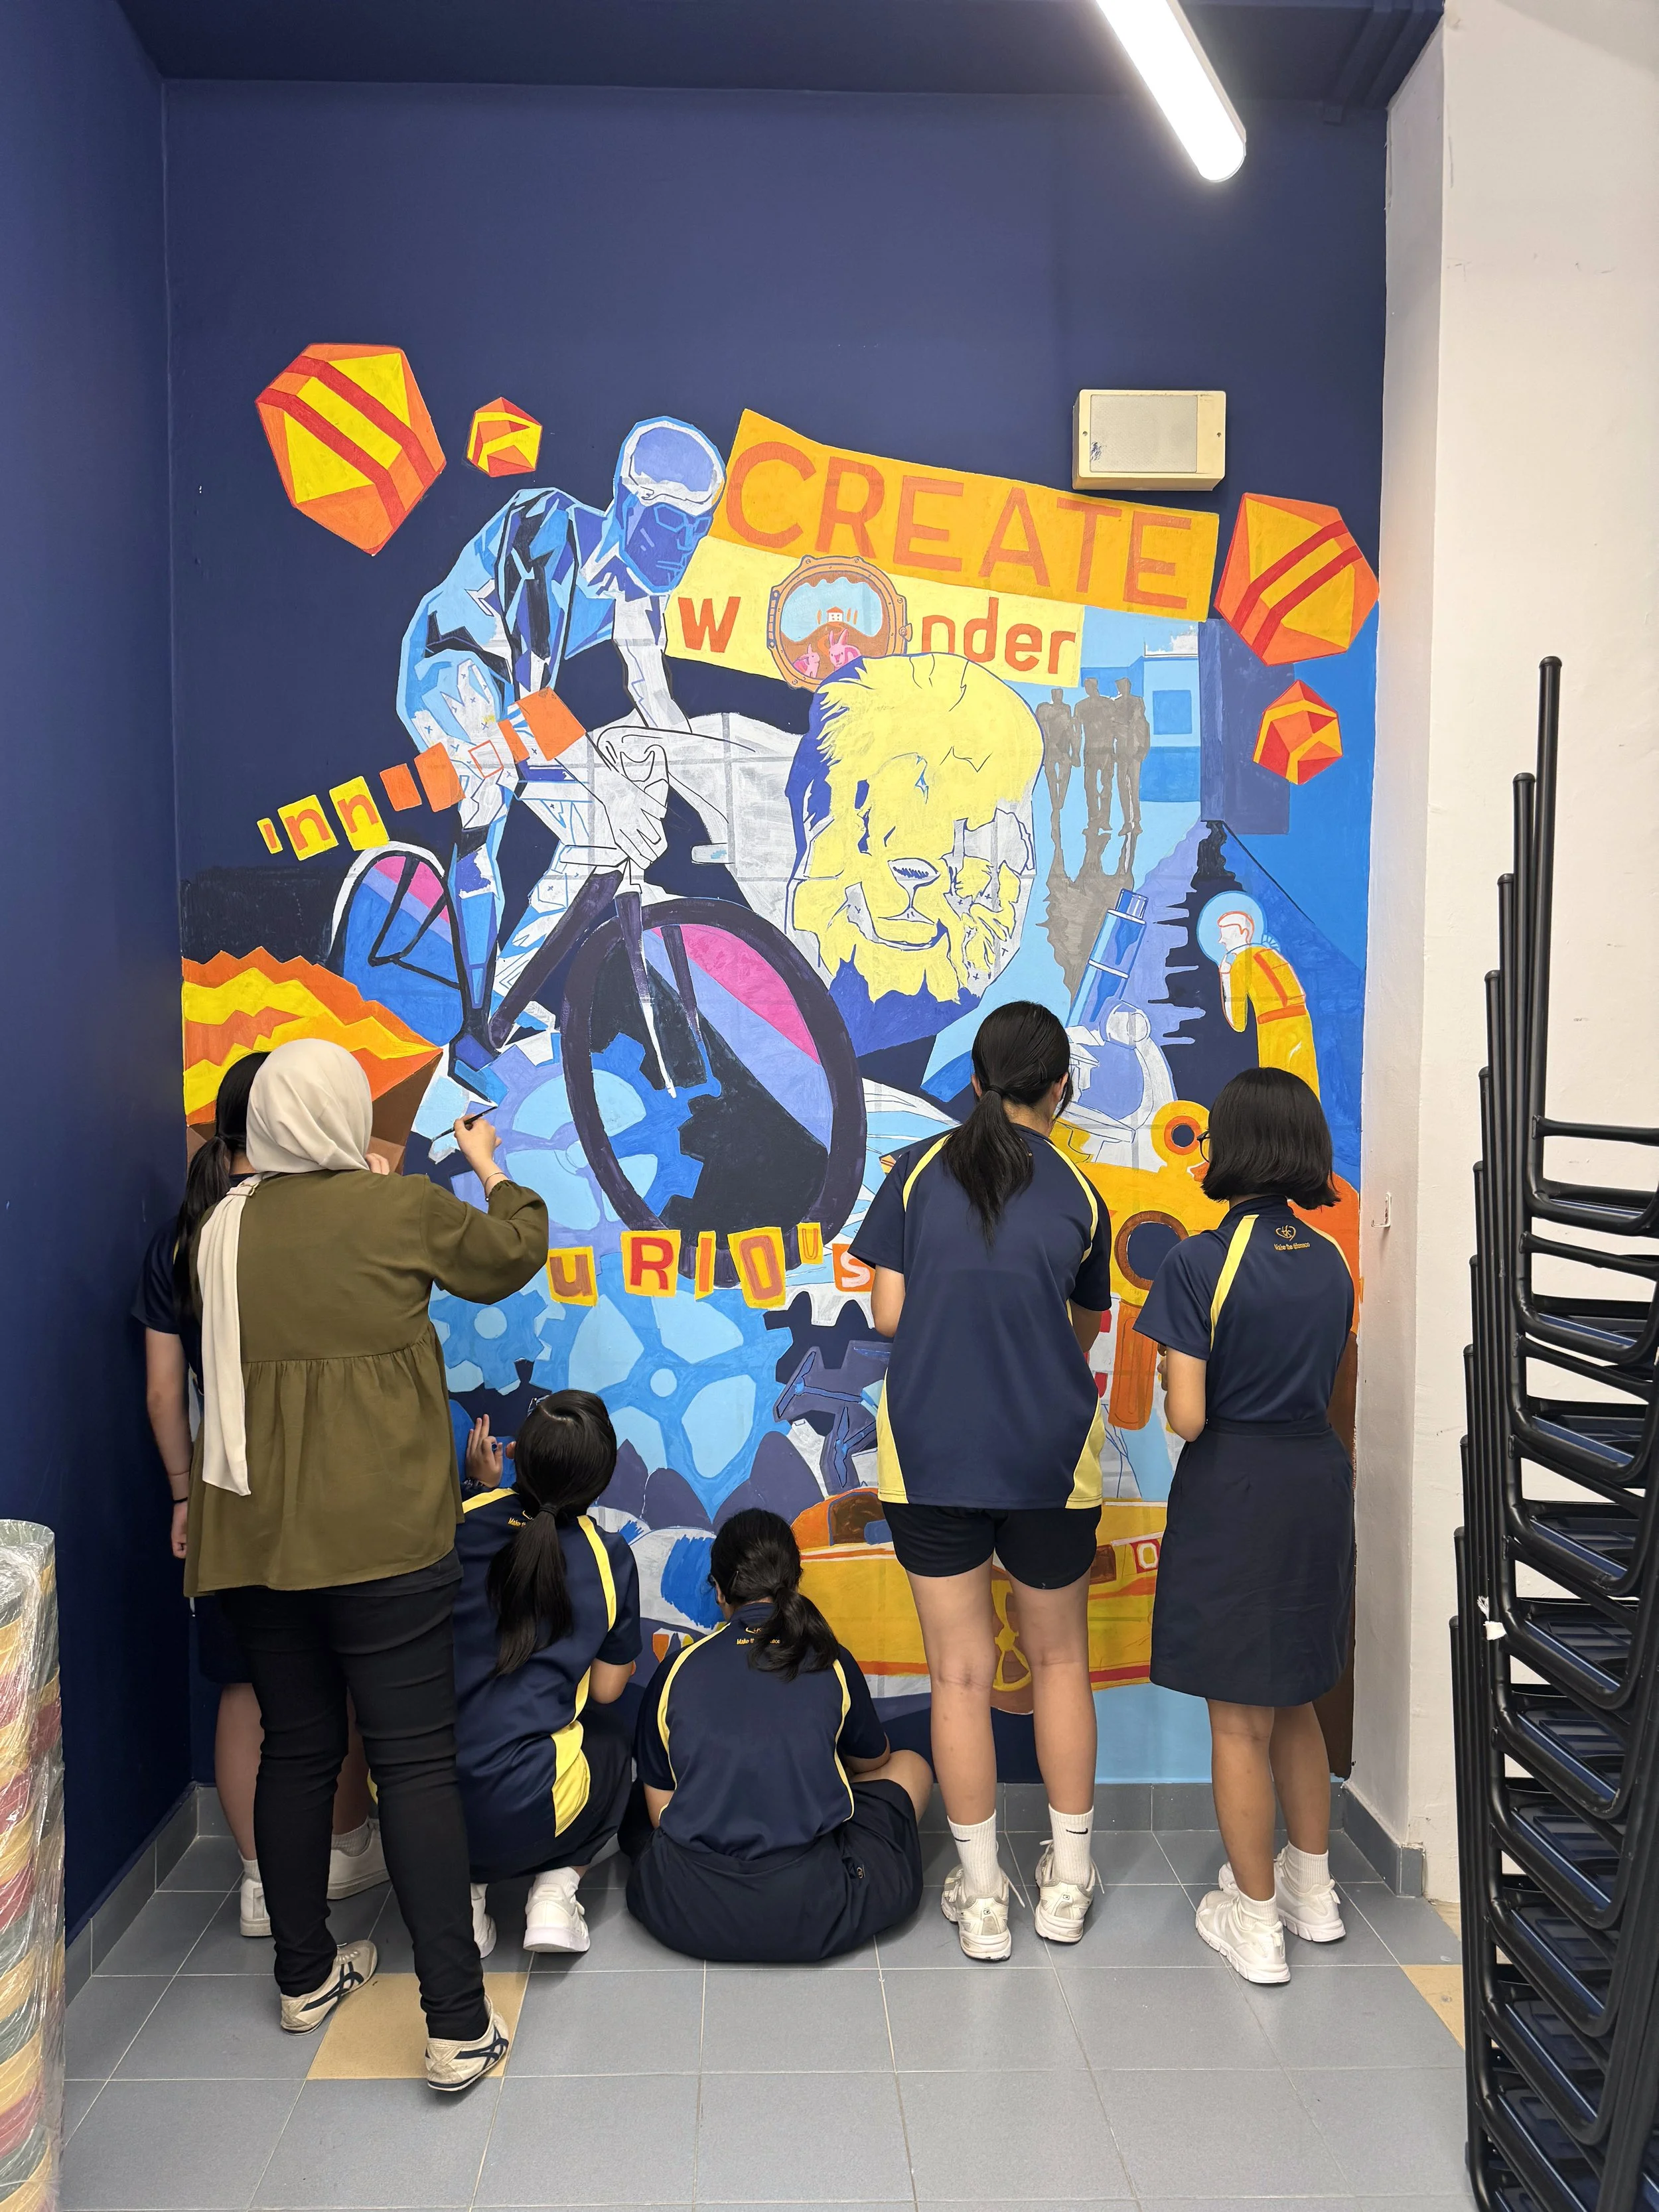
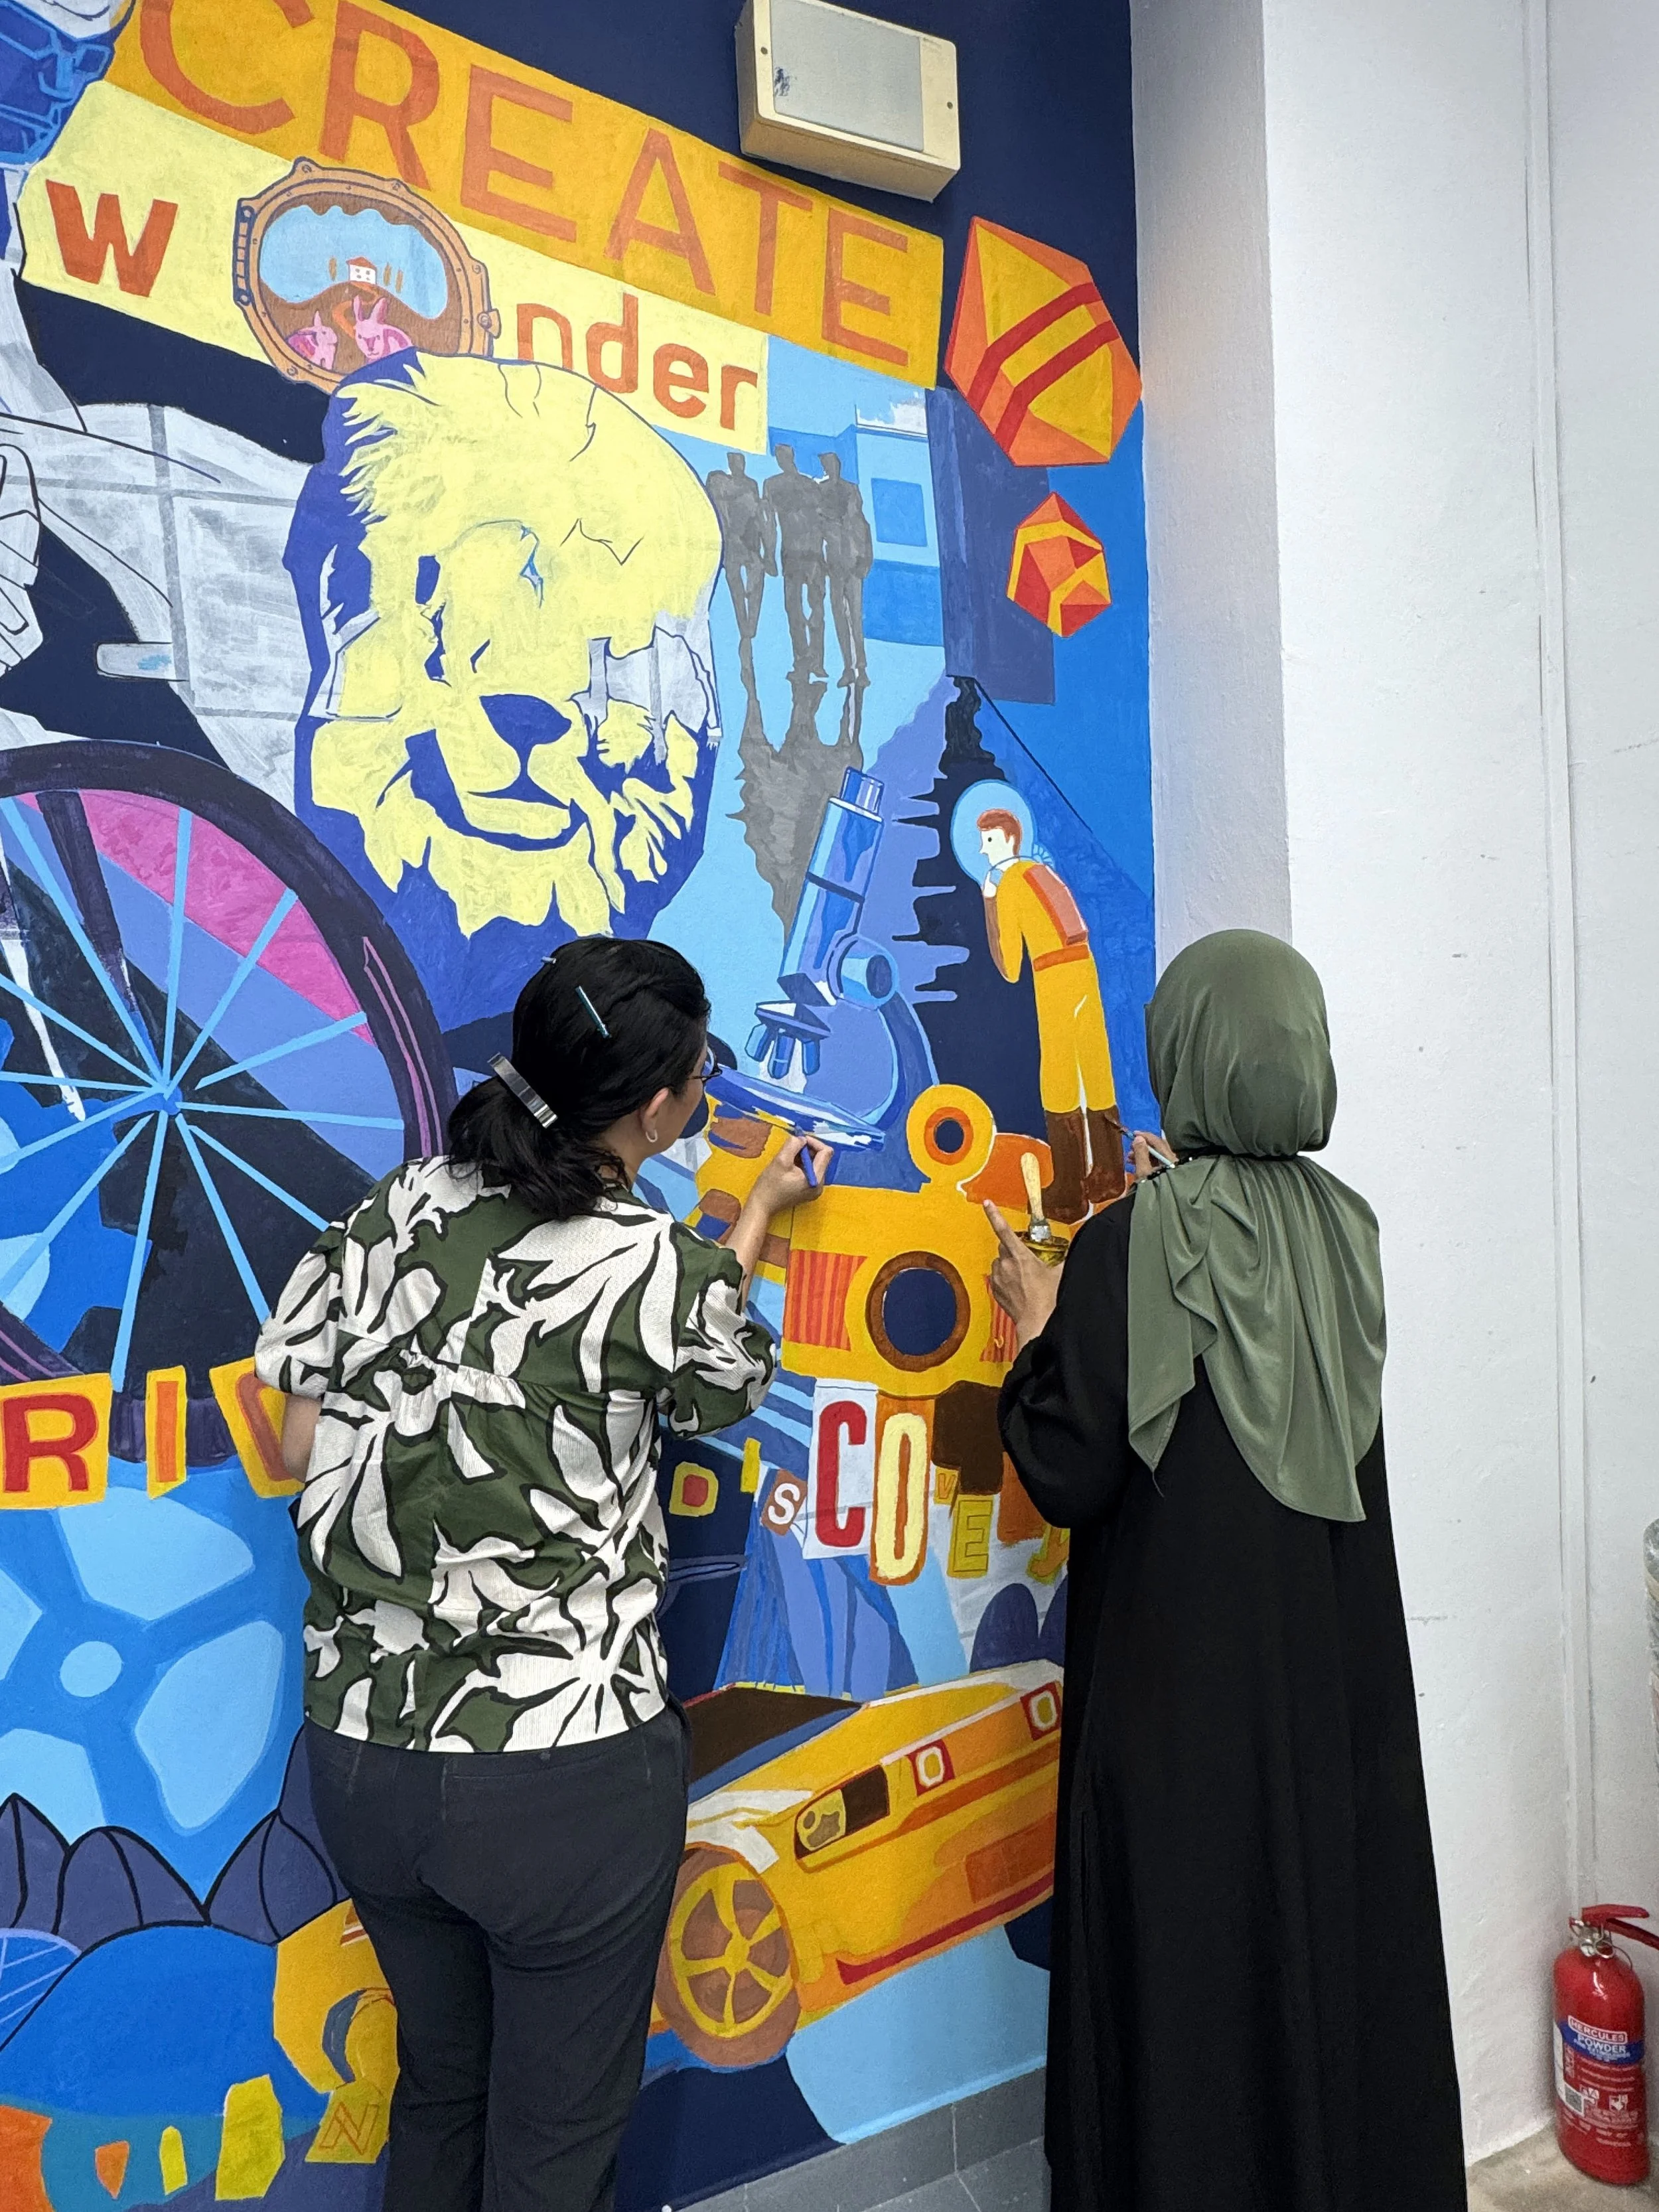
With the composition and colours decided, the next challenge was translating the design onto a much larger wall. We began by gridding the mural, using the smaller design as a guide to map out the main shapes and proportions at scale. Once the drawing was established, a base colour was painted across the wall before the different areas of colour were gradually added.This stage took time. Working at a larger scale meant that colours needed multiple layers, edges had to be revisited, and the mural had to be viewed repeatedly from a distance to see how the overall composition was coming together. What began as broad areas of base colour gradually became more defined as students added the selected palette, strengthened shapes and returned to areas that needed refinement. The mural was built up slowly, layer by layer; from grid, to base, to colour, and finally to the smaller adjustments that brought the whole image together.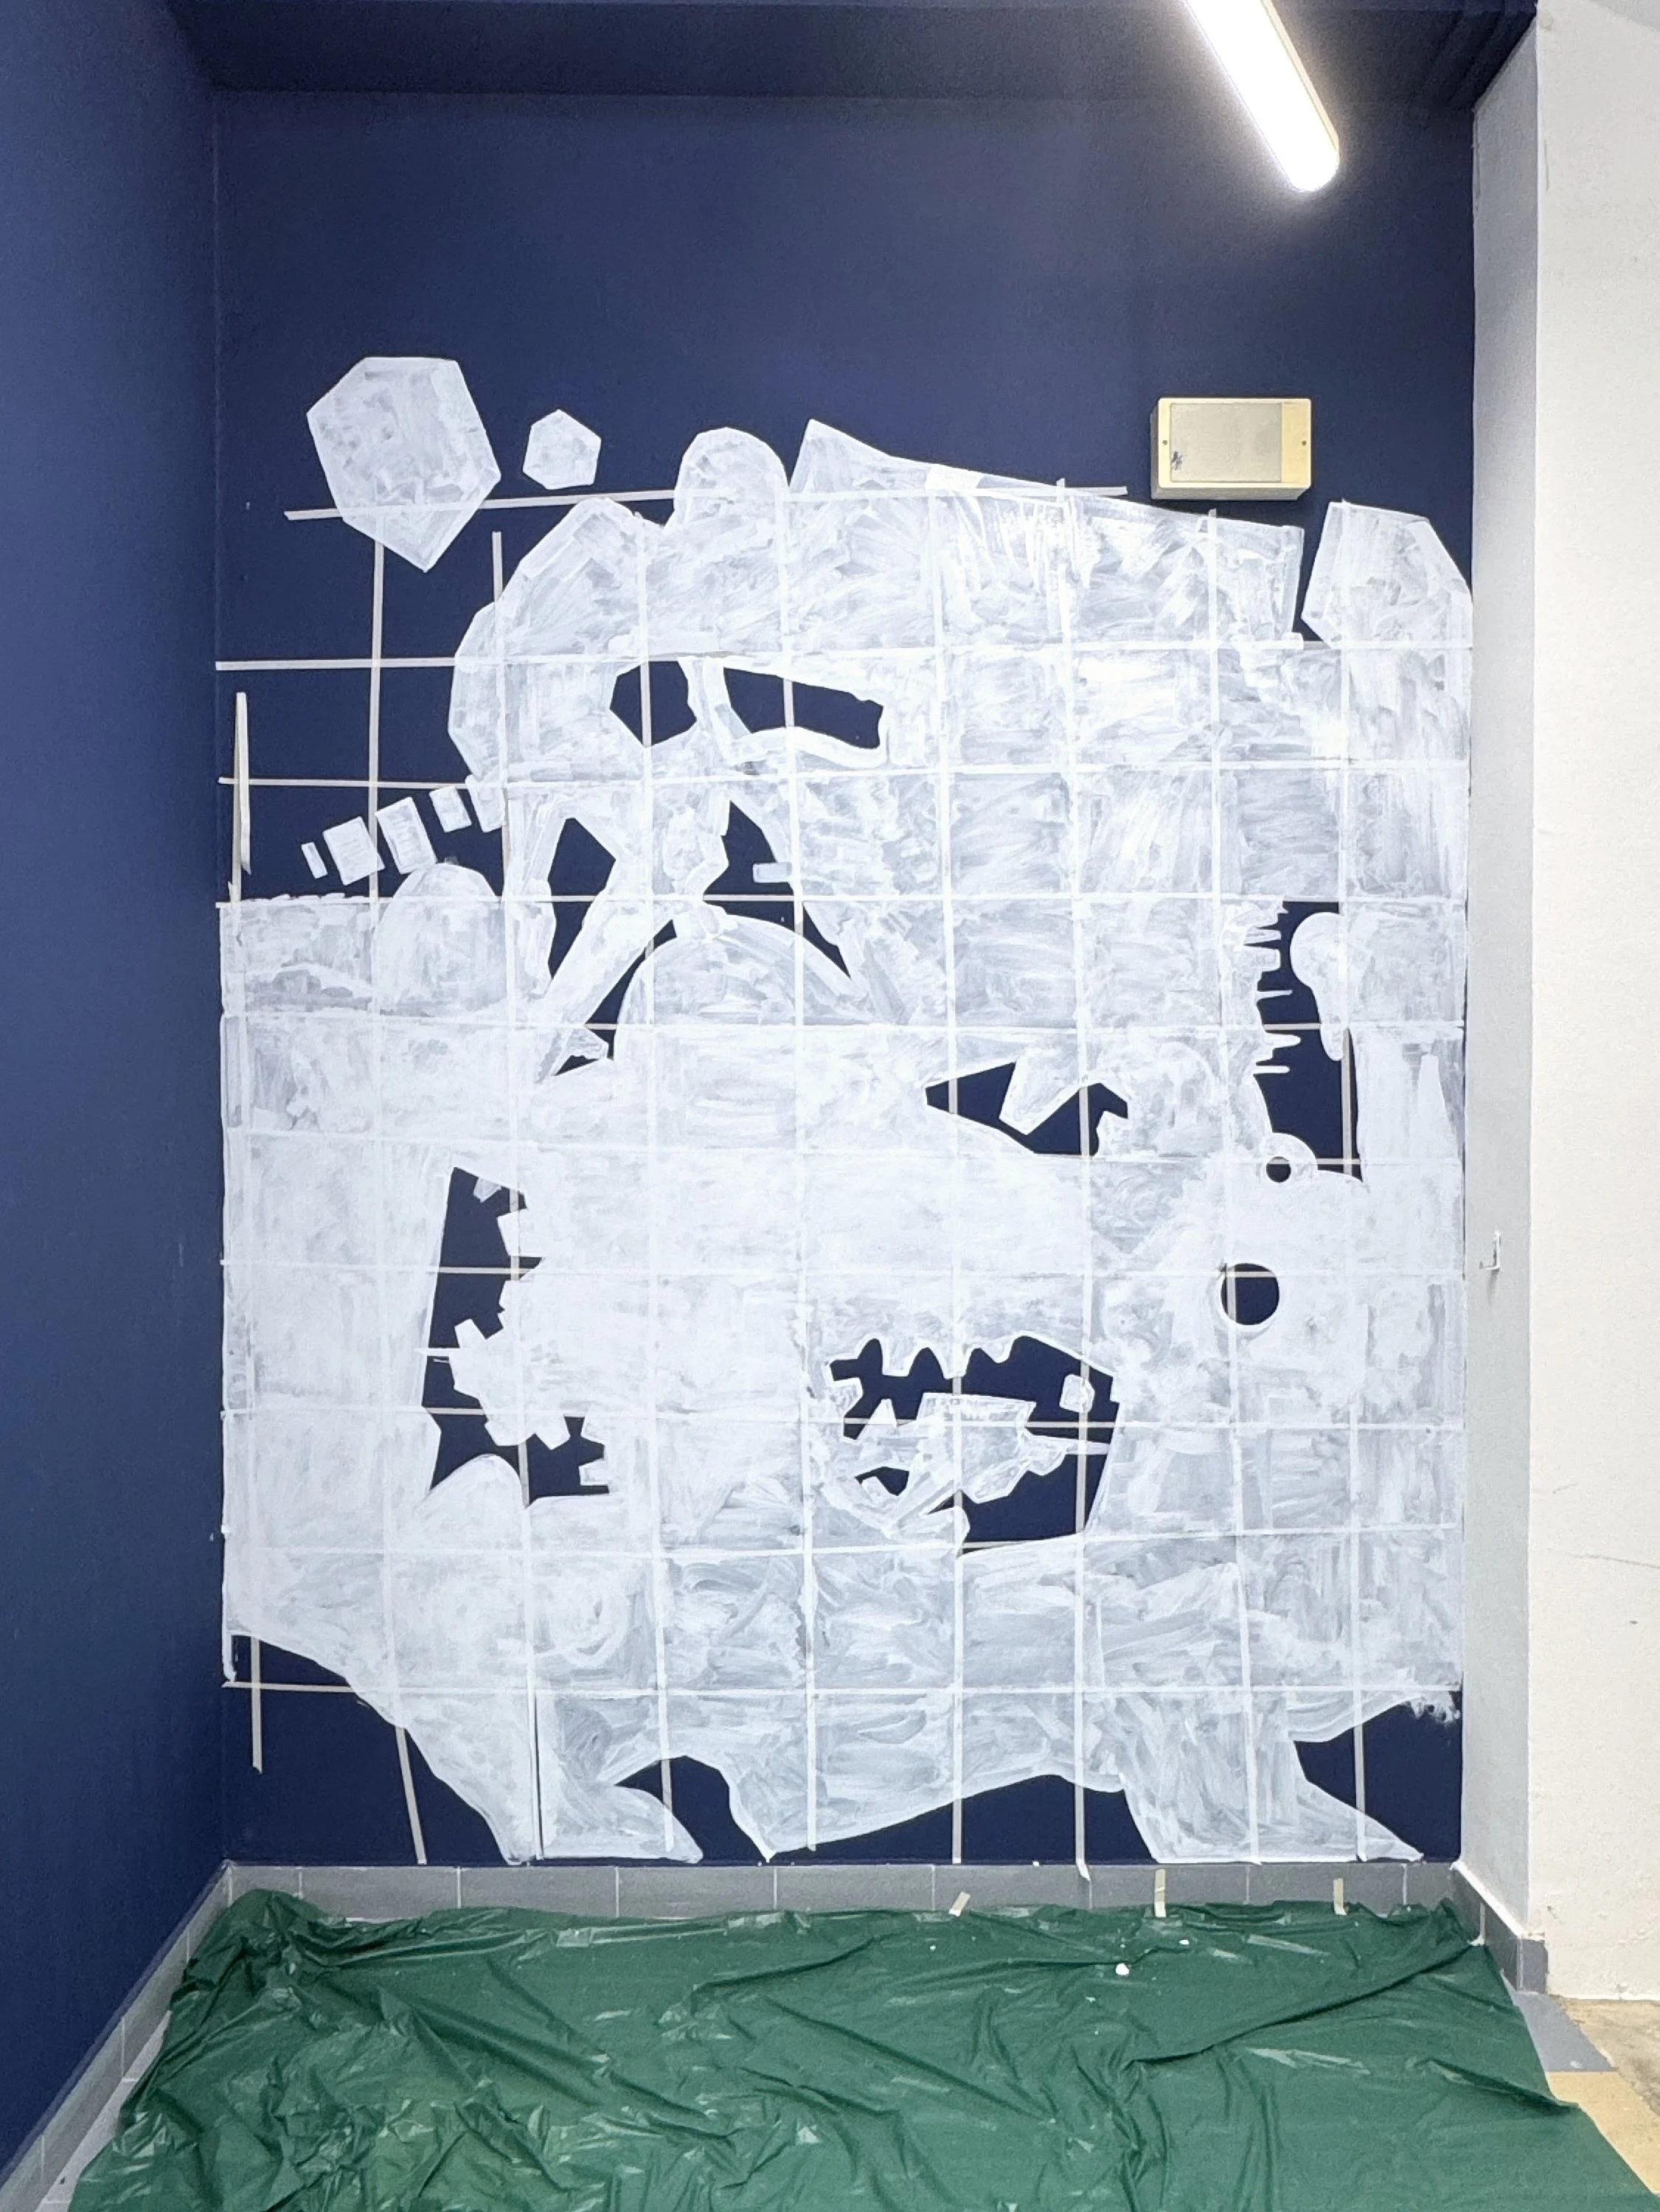
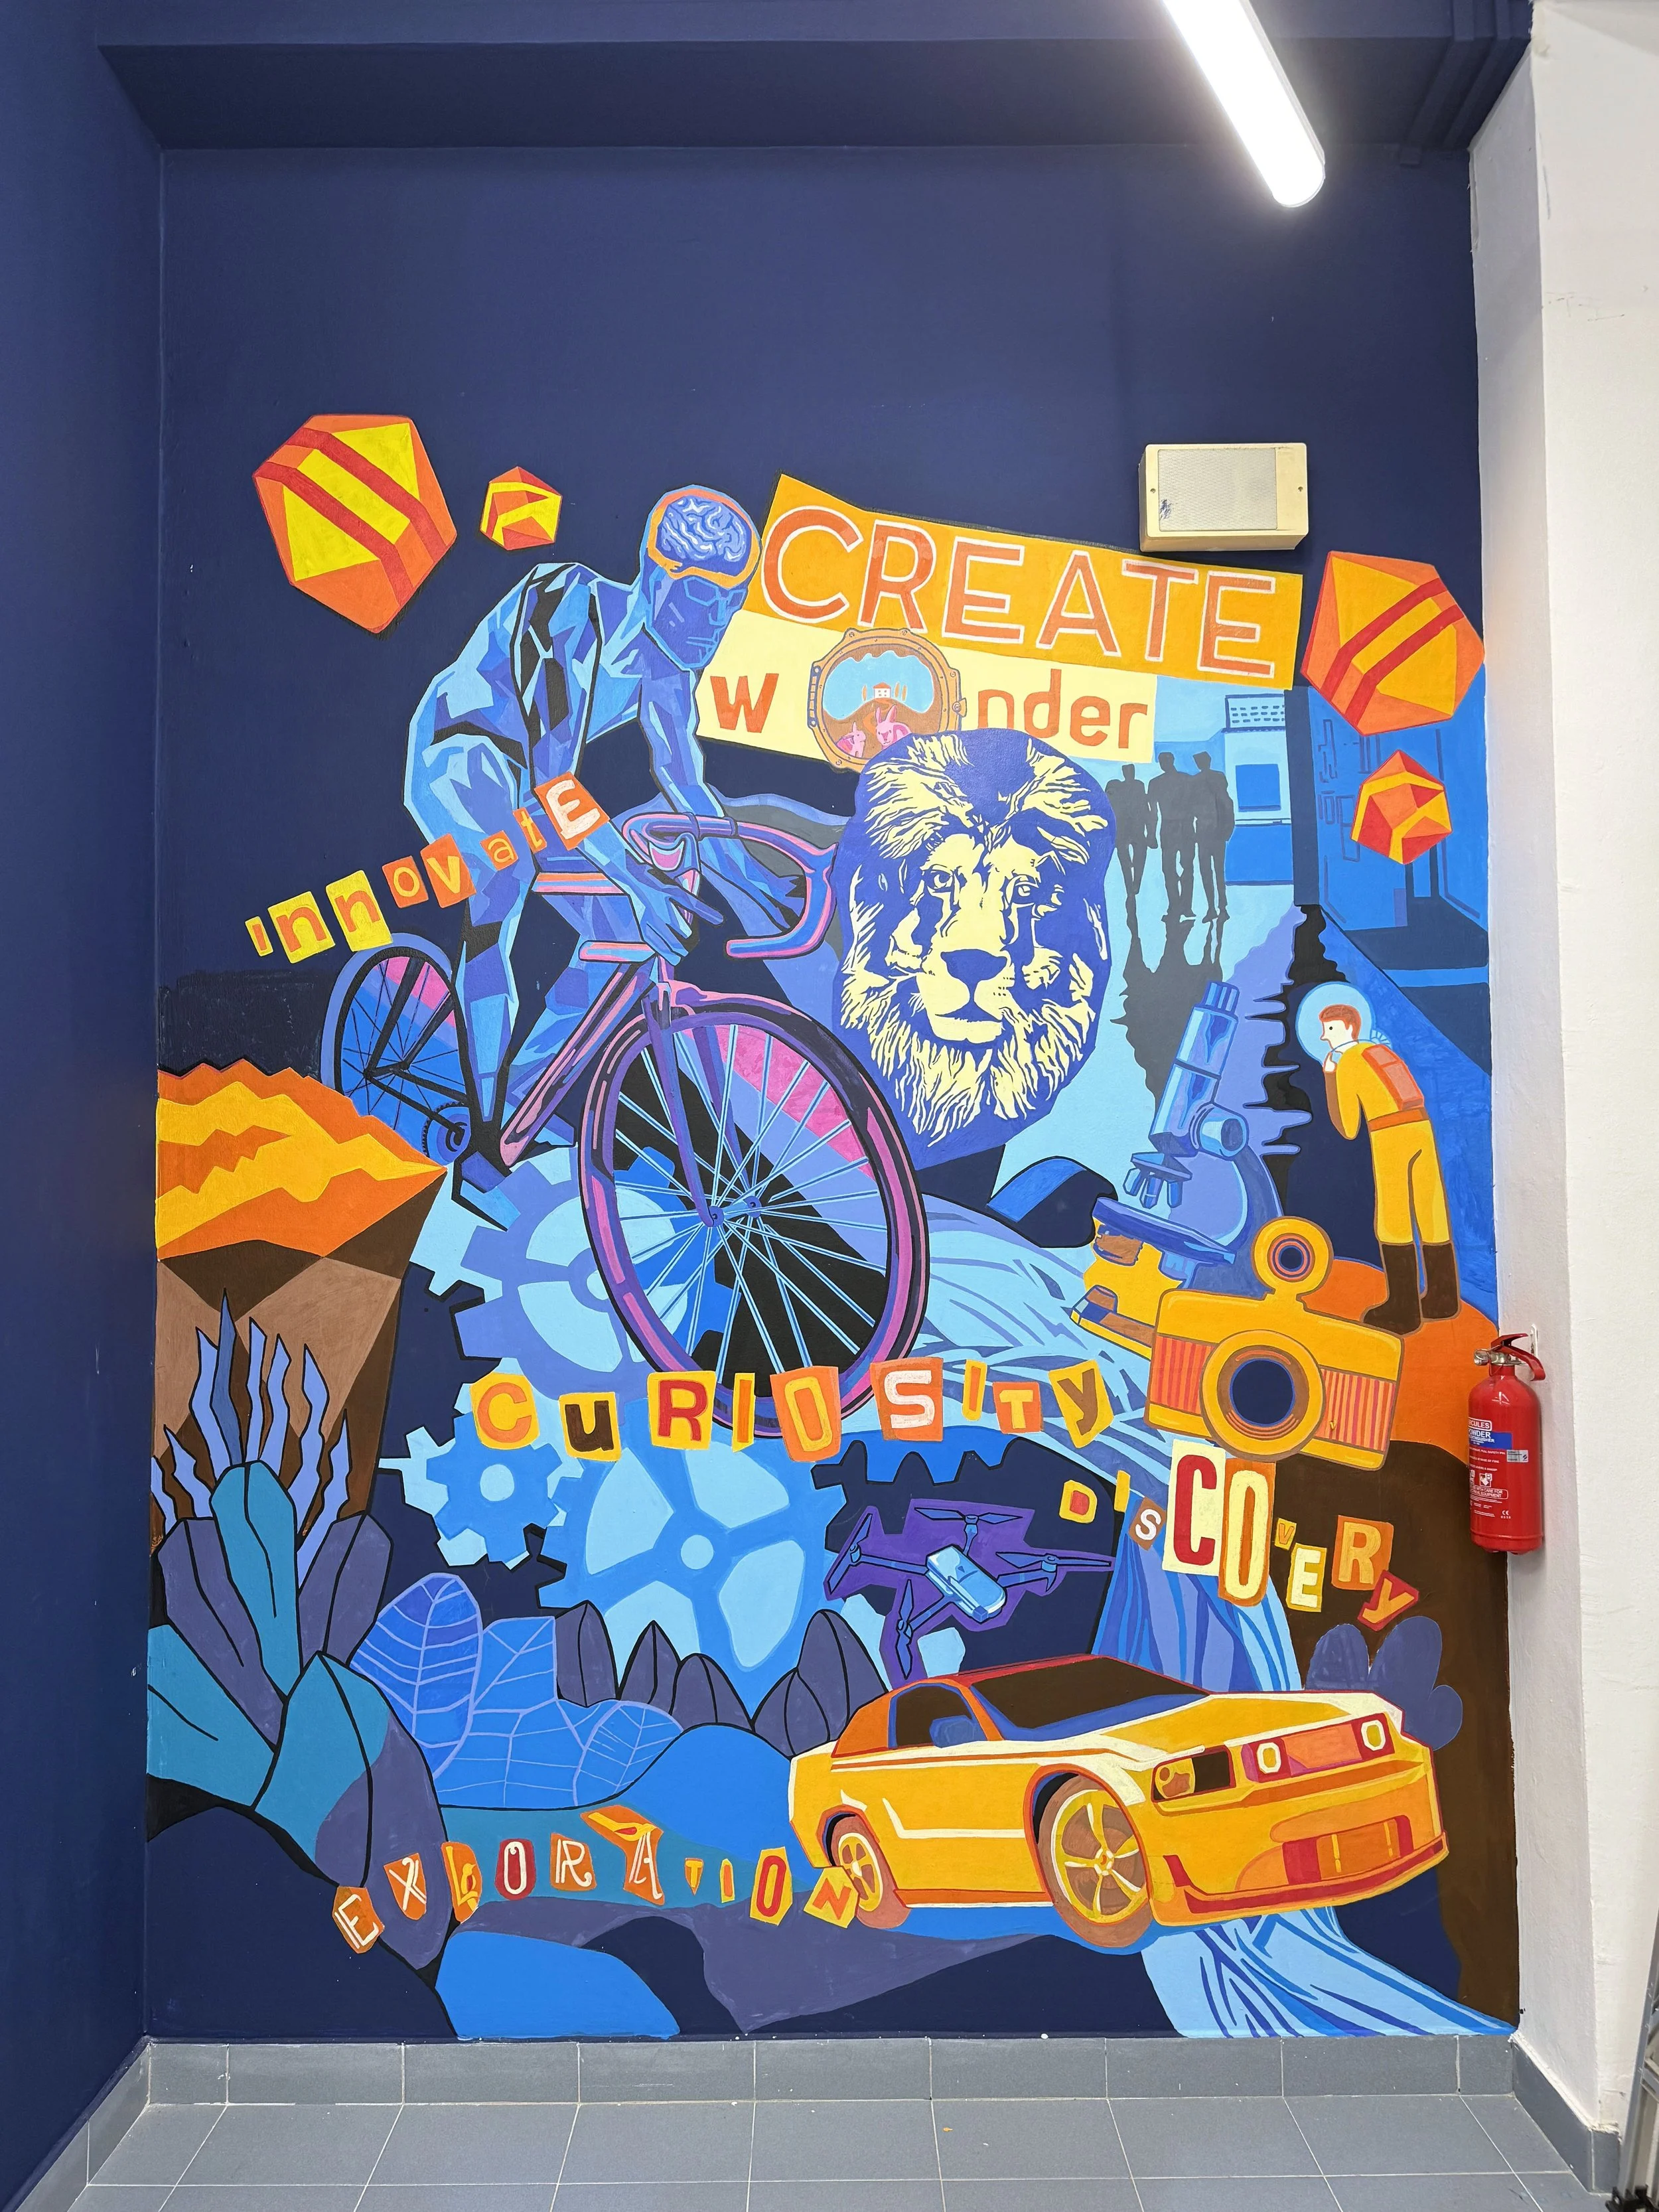
From Individual Explorations to Something Shared
This kind of process opens up many possibilities for school programmes and collaborative art projects. A mural doesn't necessarily have to begin with a finished design handed to participants to reproduce. The imagery itself can be developed through workshops, experimentation and contributions from the people who will eventually help make it.At Nimble Thumbs, we can develop collaborative projects that move between different materials, processes and scales—from individual experimentation to a shared final artwork.Thinking about a mural or collaborative art project for your school? Get in touch with Nimble Thumbs to explore how we can build the process together.
